3Dfy
Eureka Mignon Grinder Setting Adjustment Dial Knob - Accurately Switch Between Grind Sizes
Eureka Mignon Grinder Setting Adjustment Dial Knob - Accurately Switch Between Grind Sizes
Regular price
$30.39 USD
Regular price
$37.48 USD
Sale price
$30.39 USD
Unit price
per
Couldn't load pickup availability
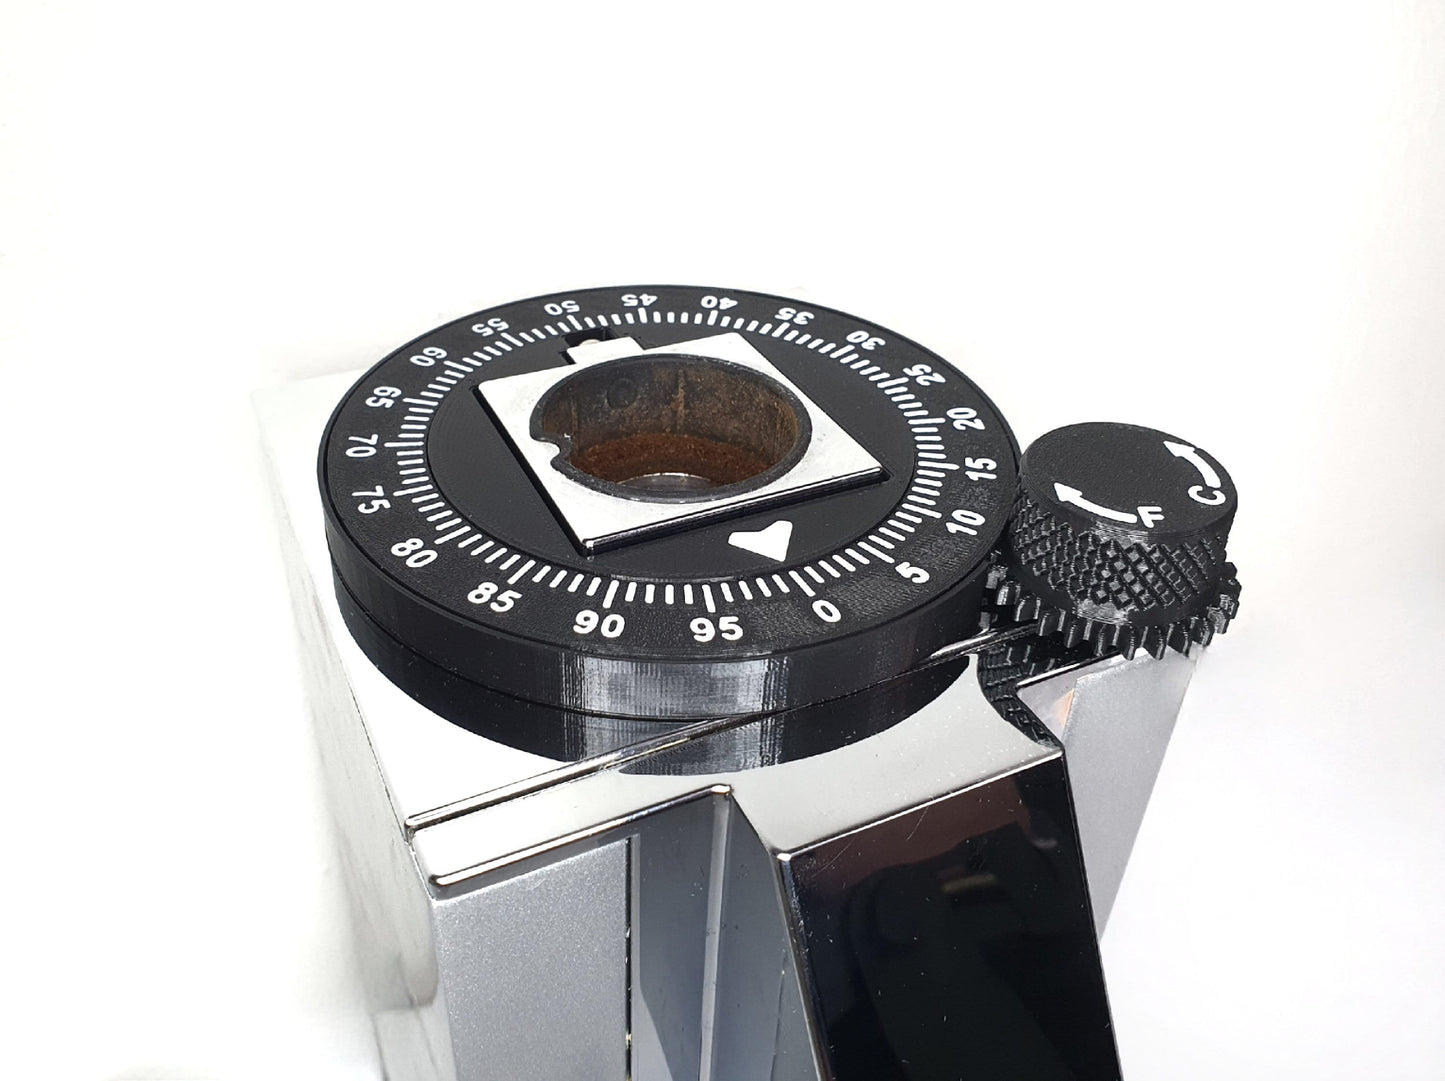
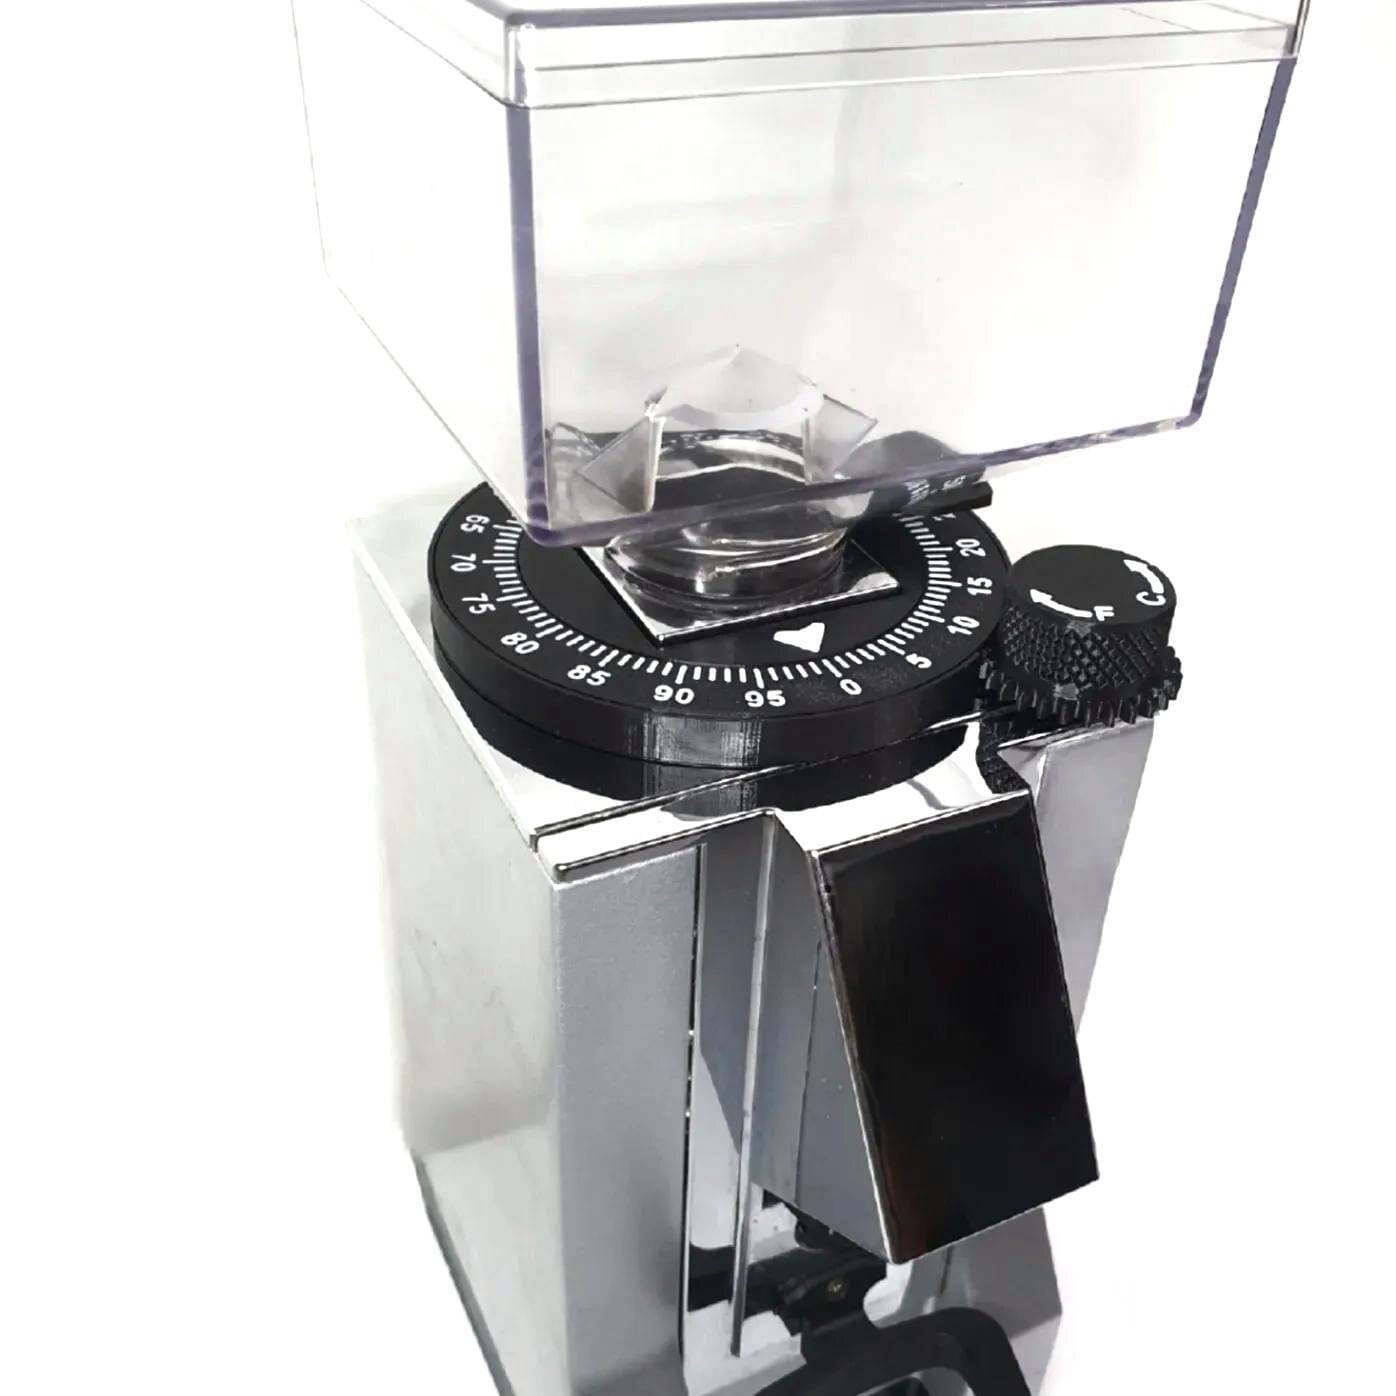
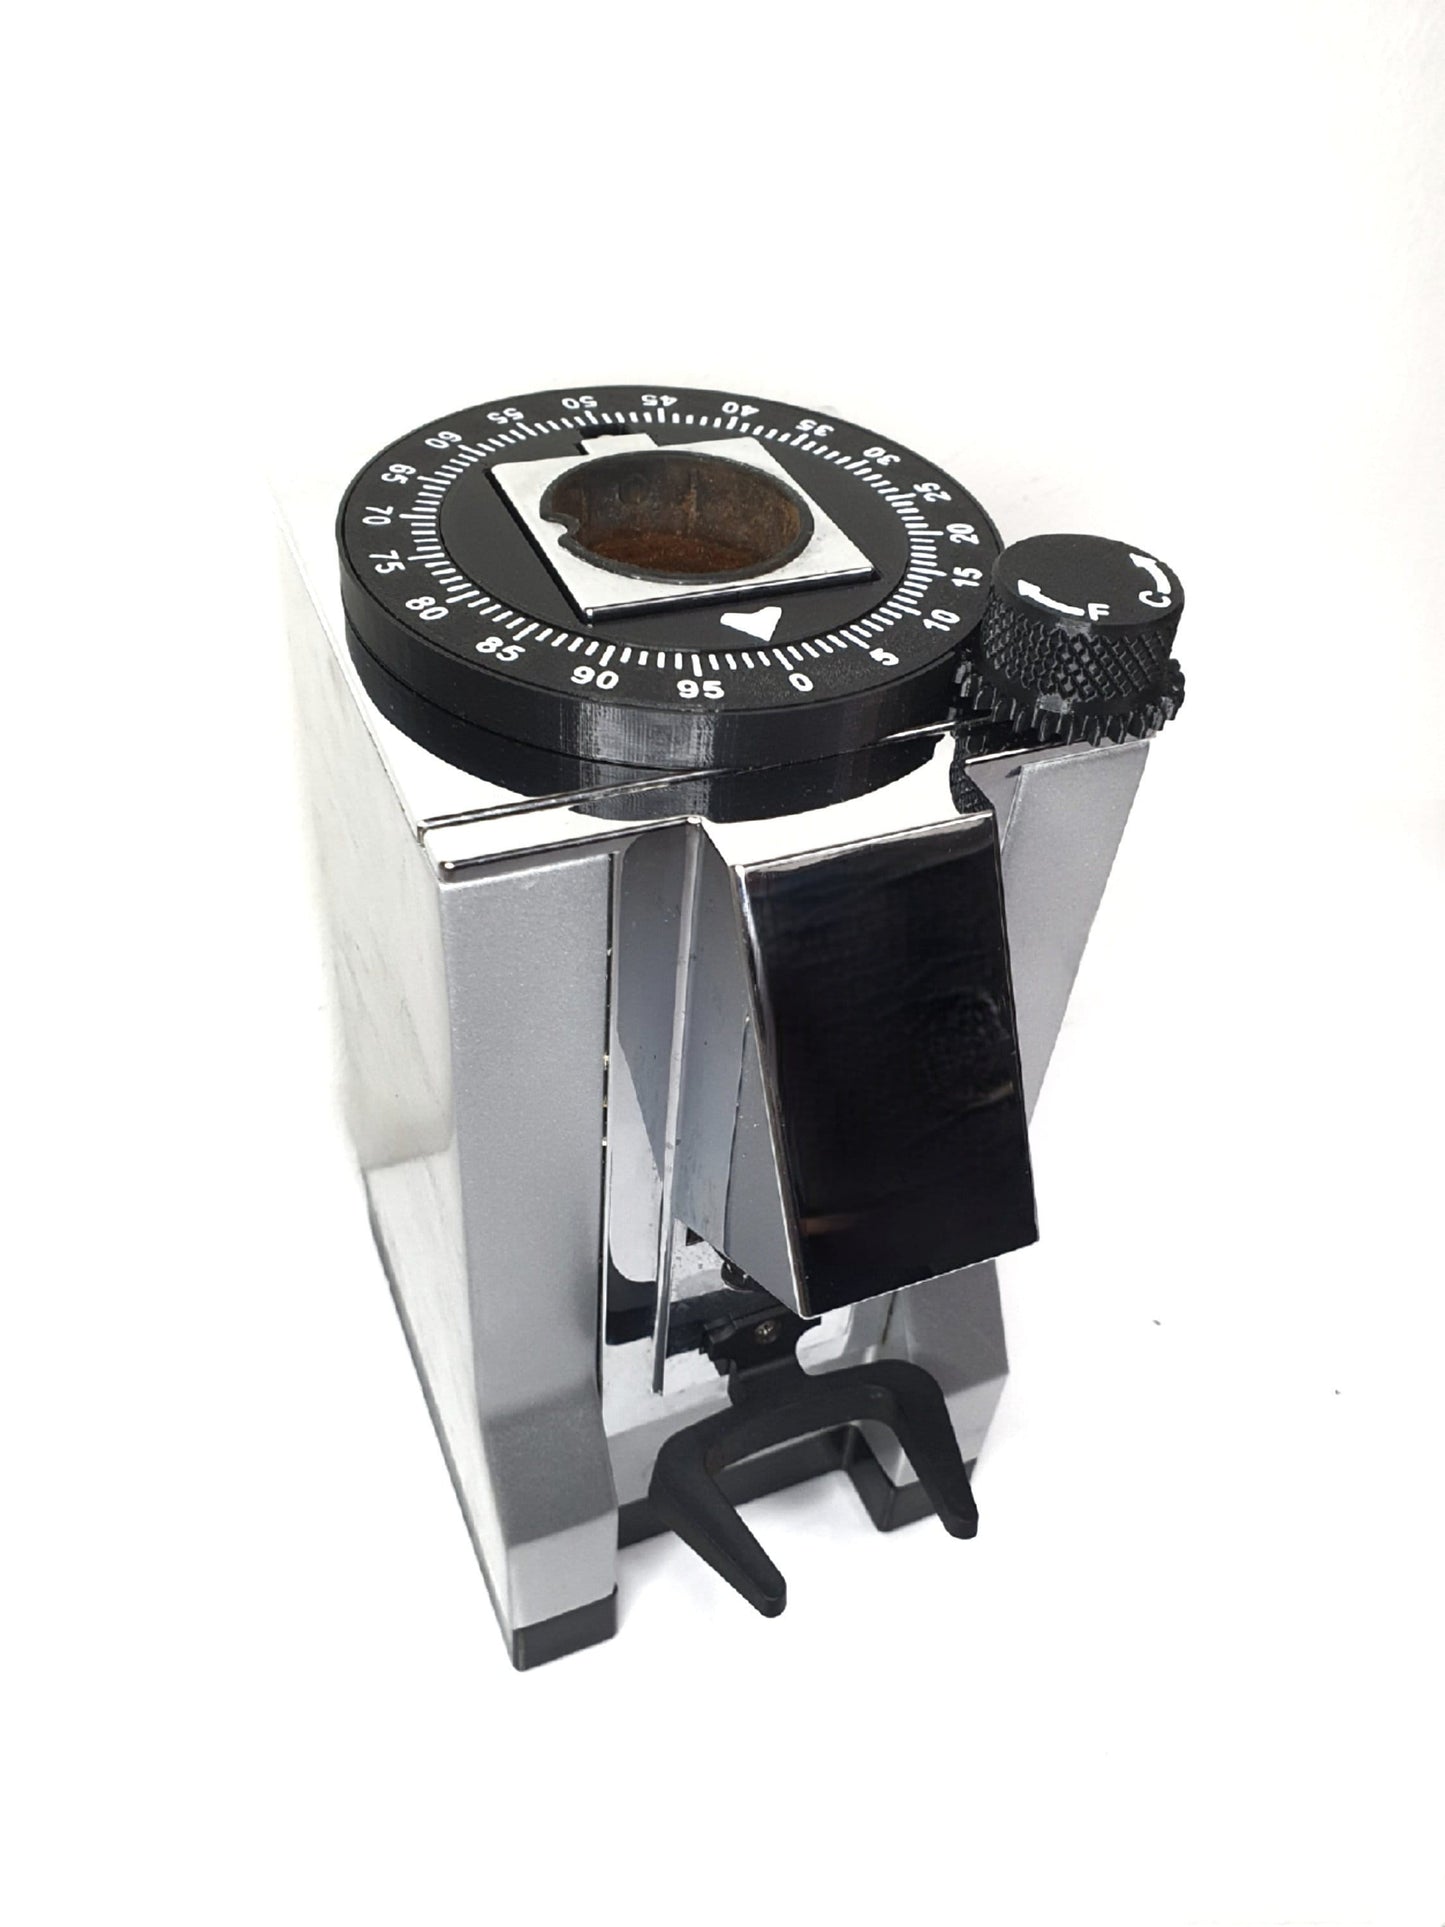
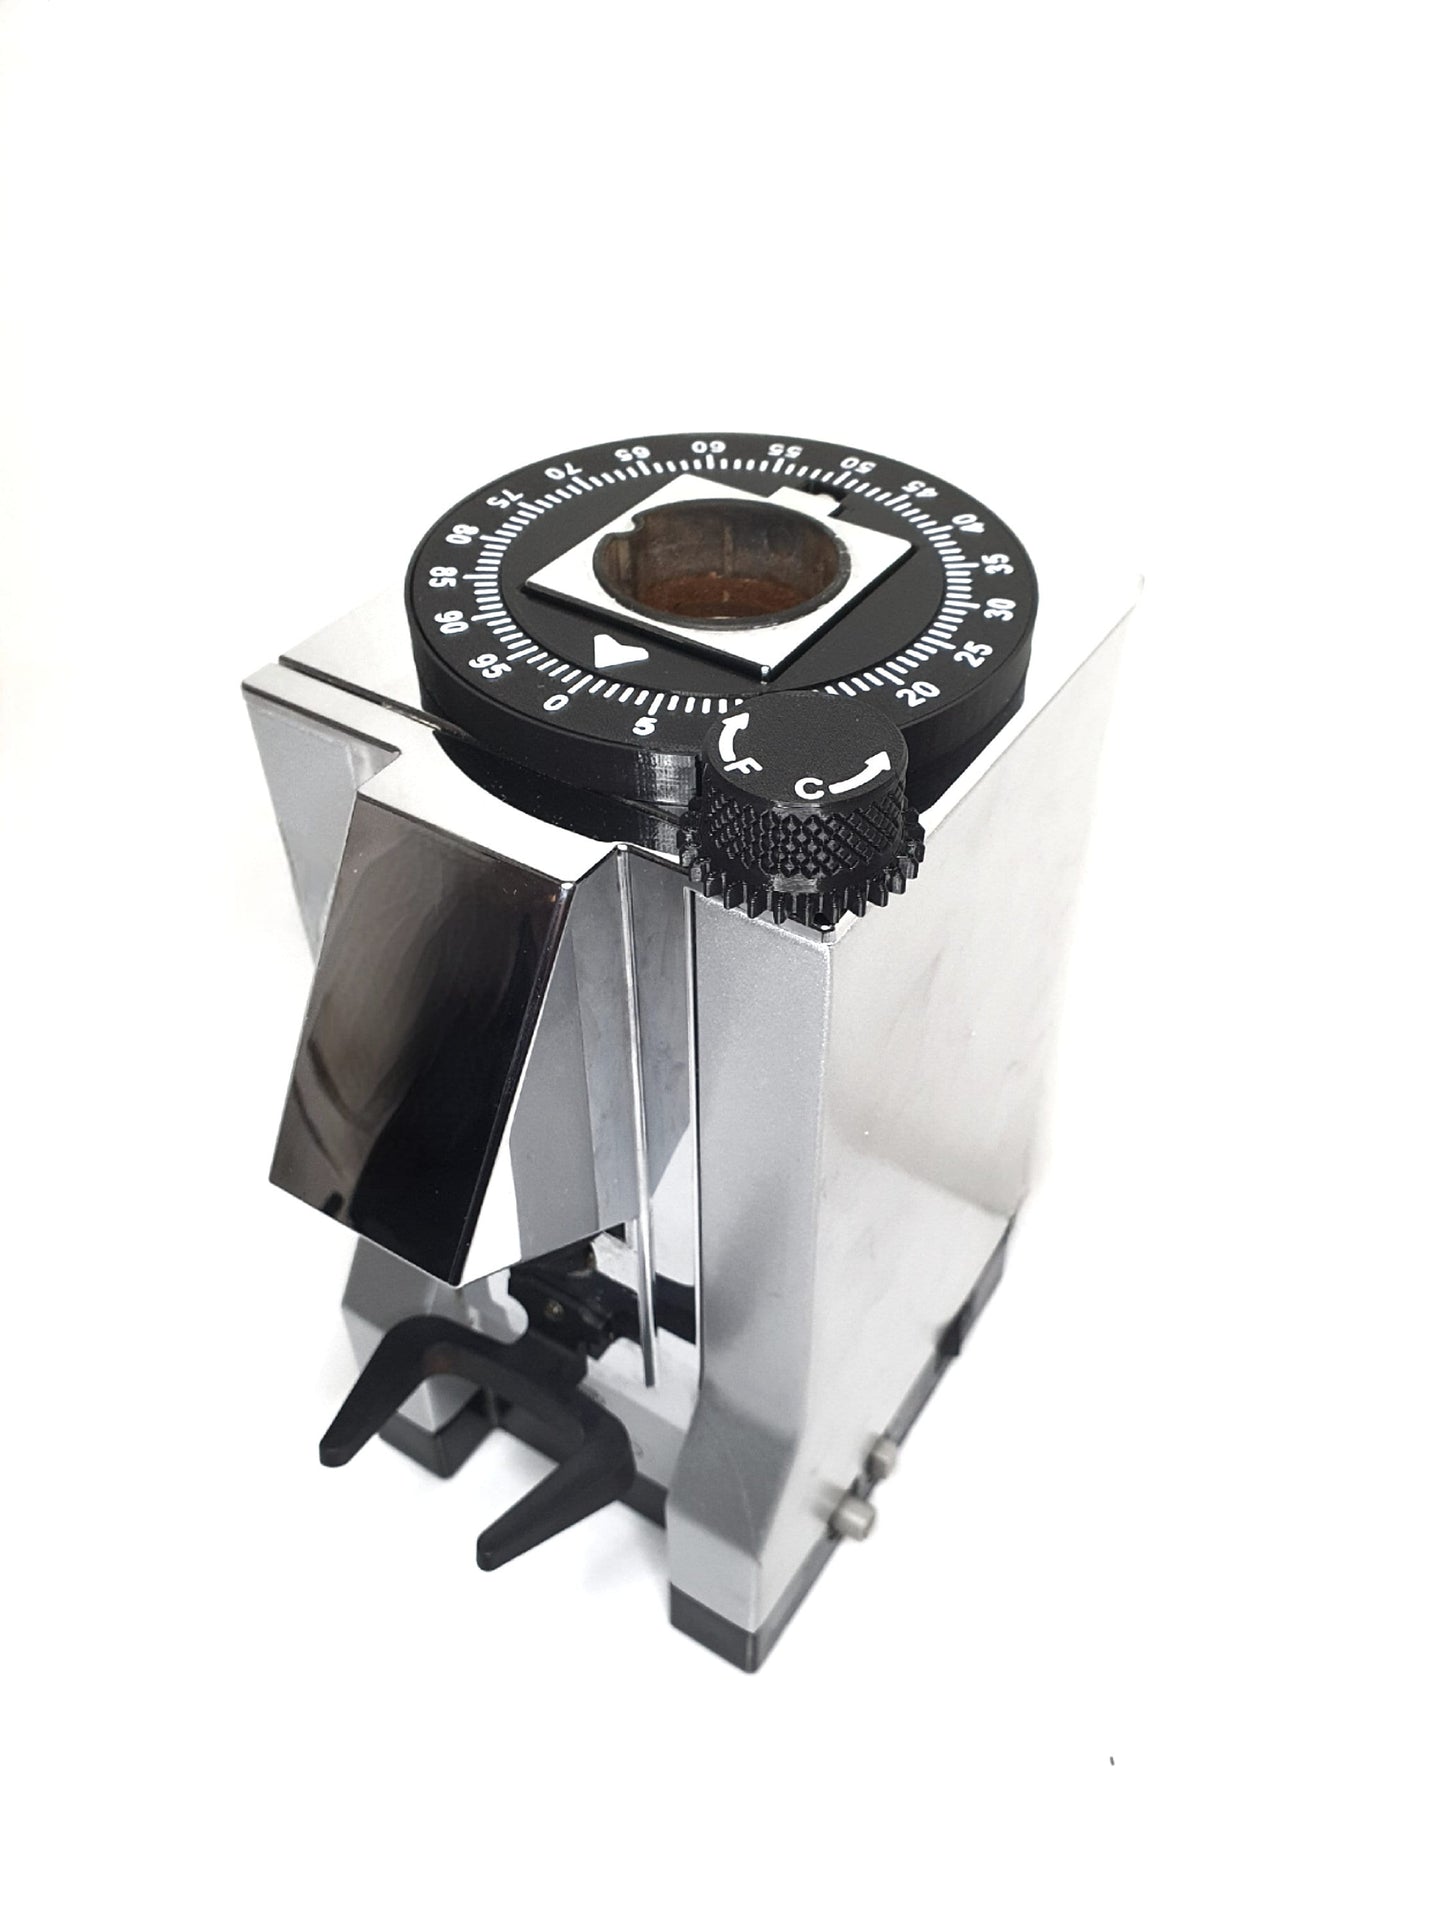
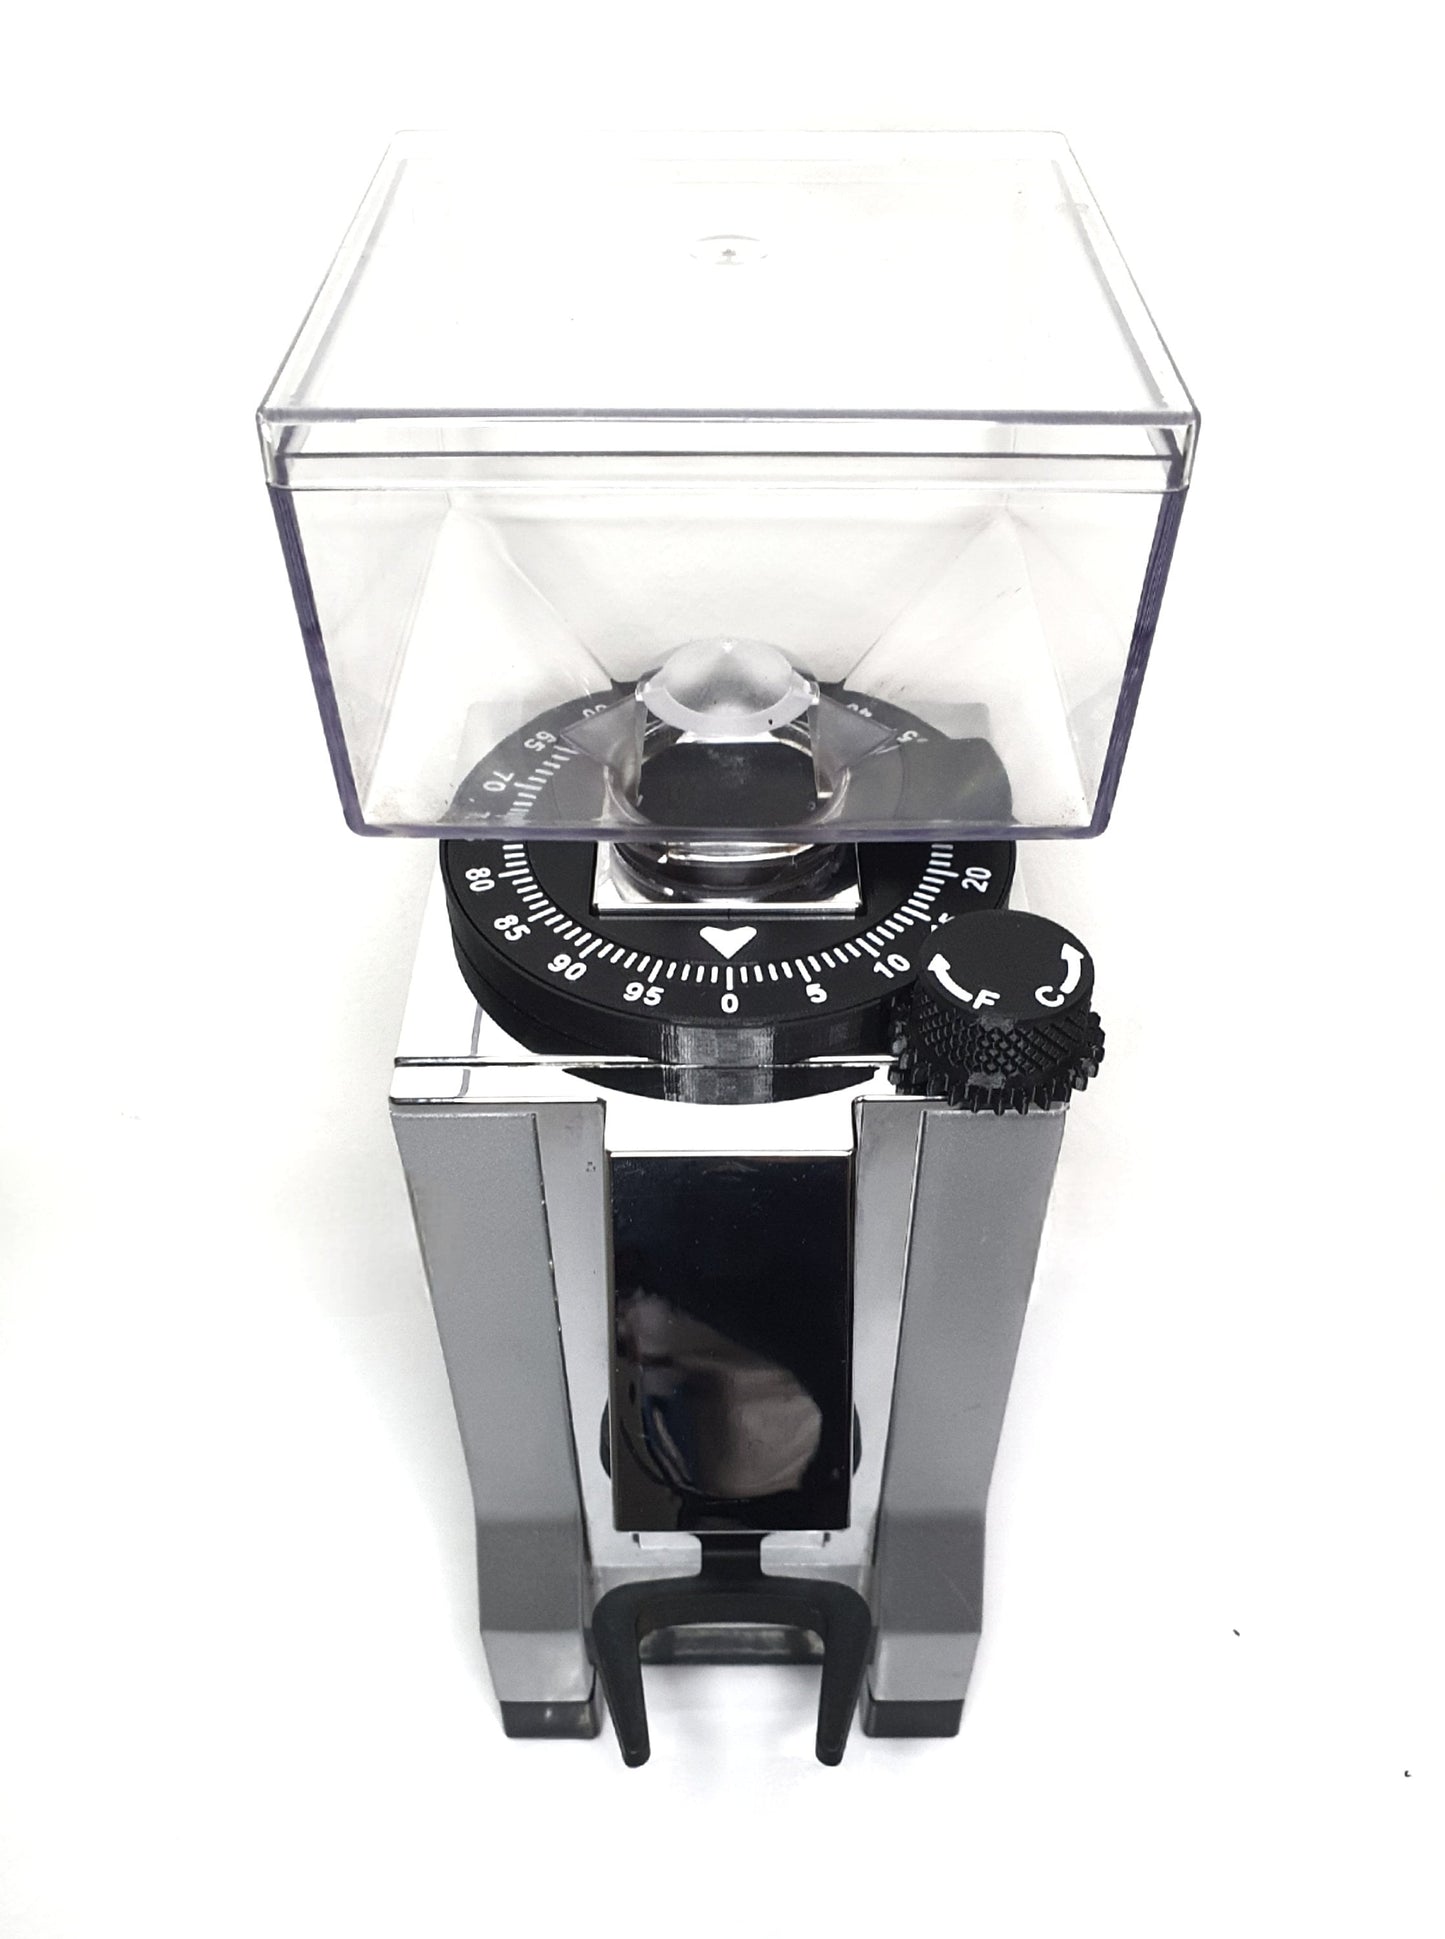
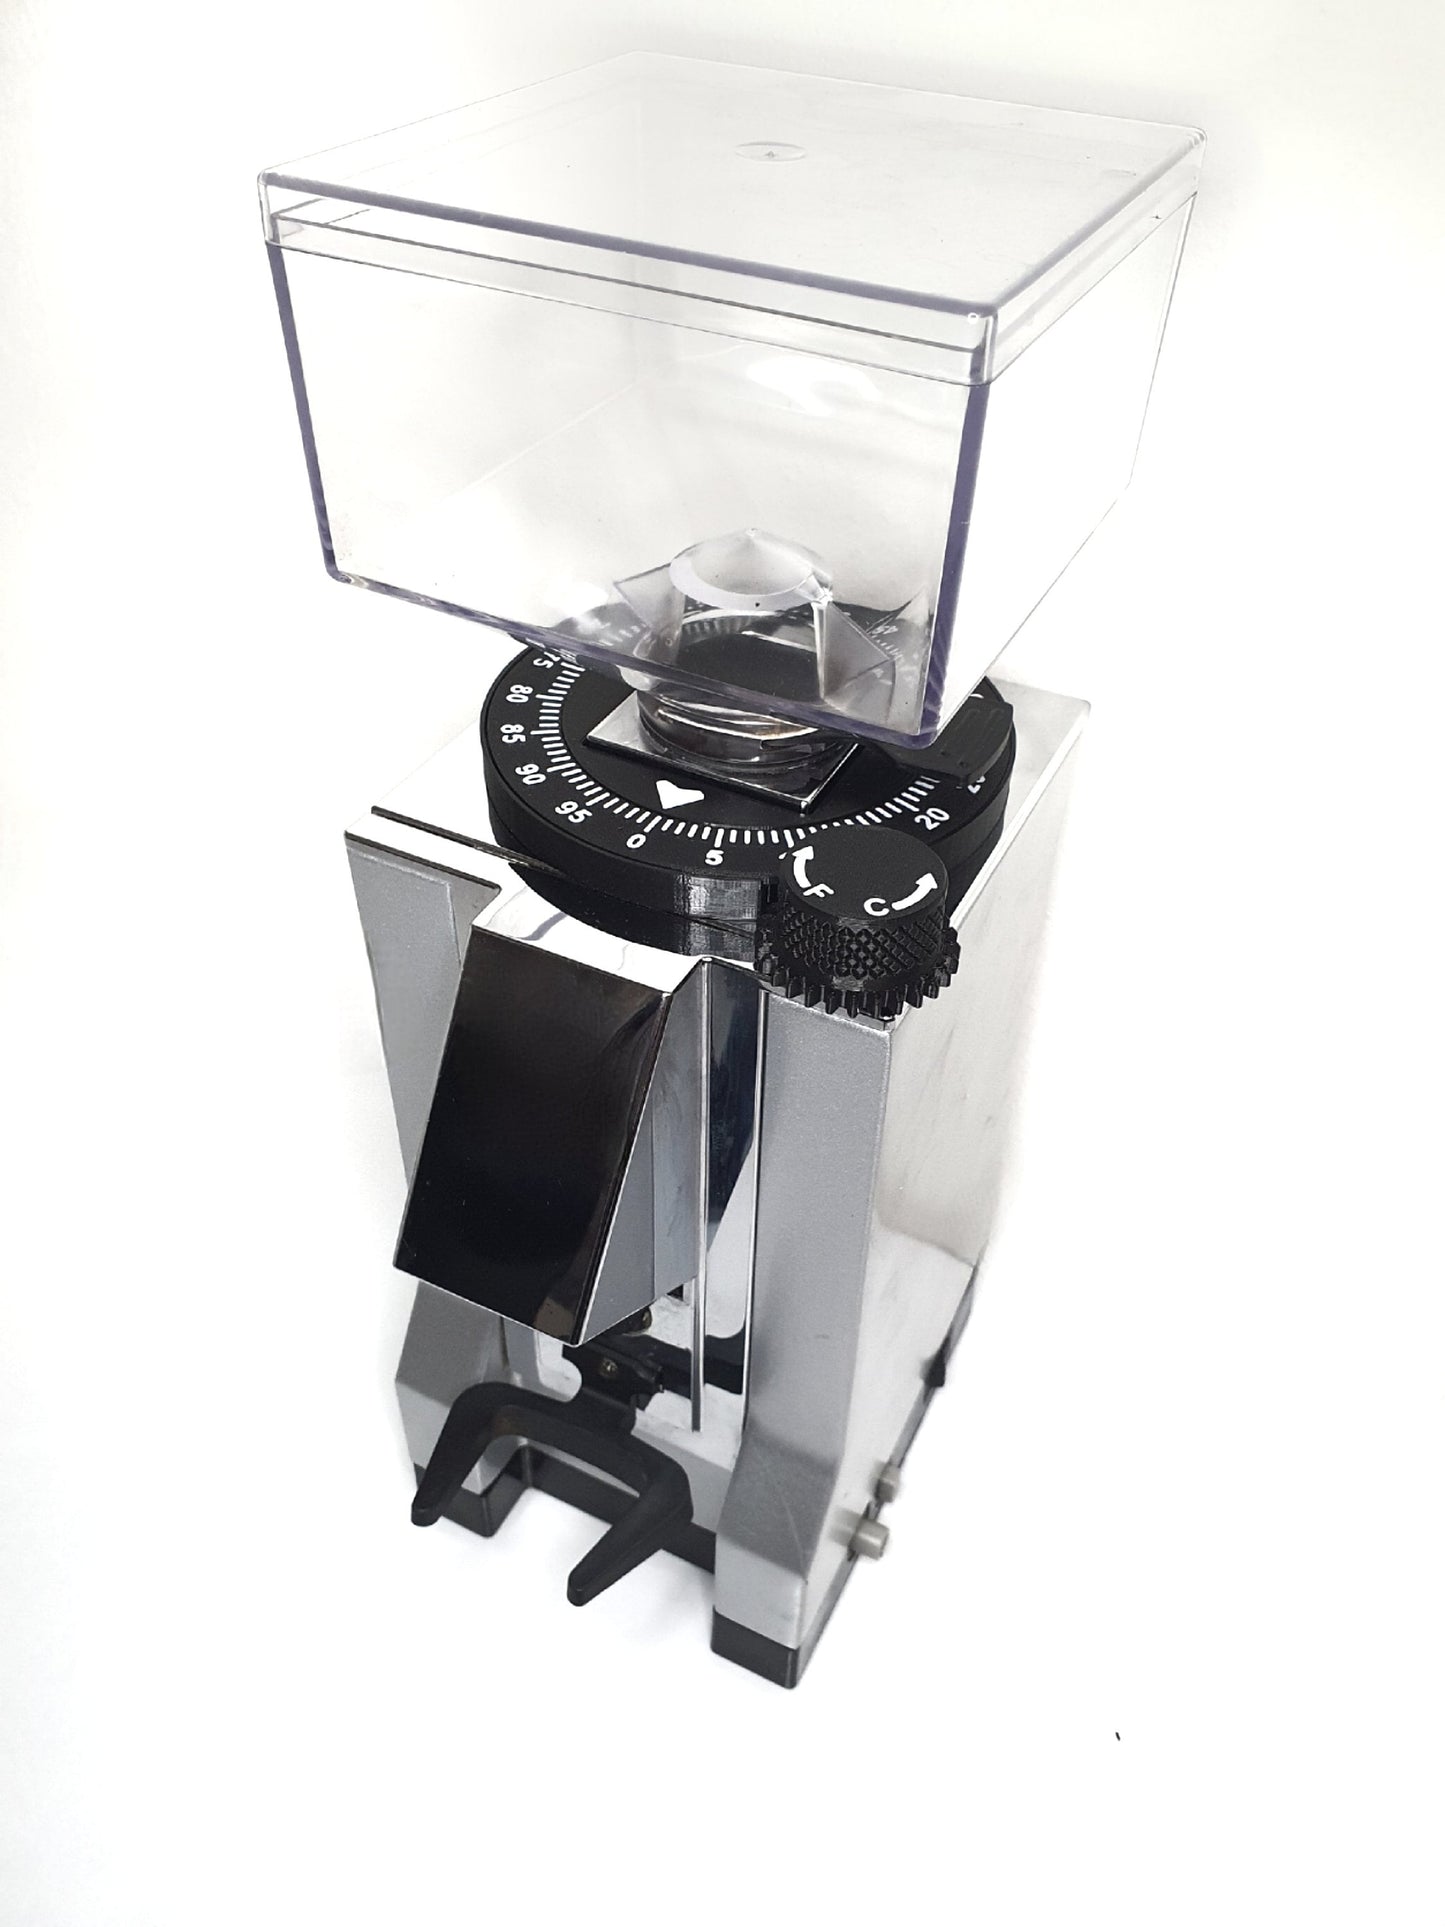
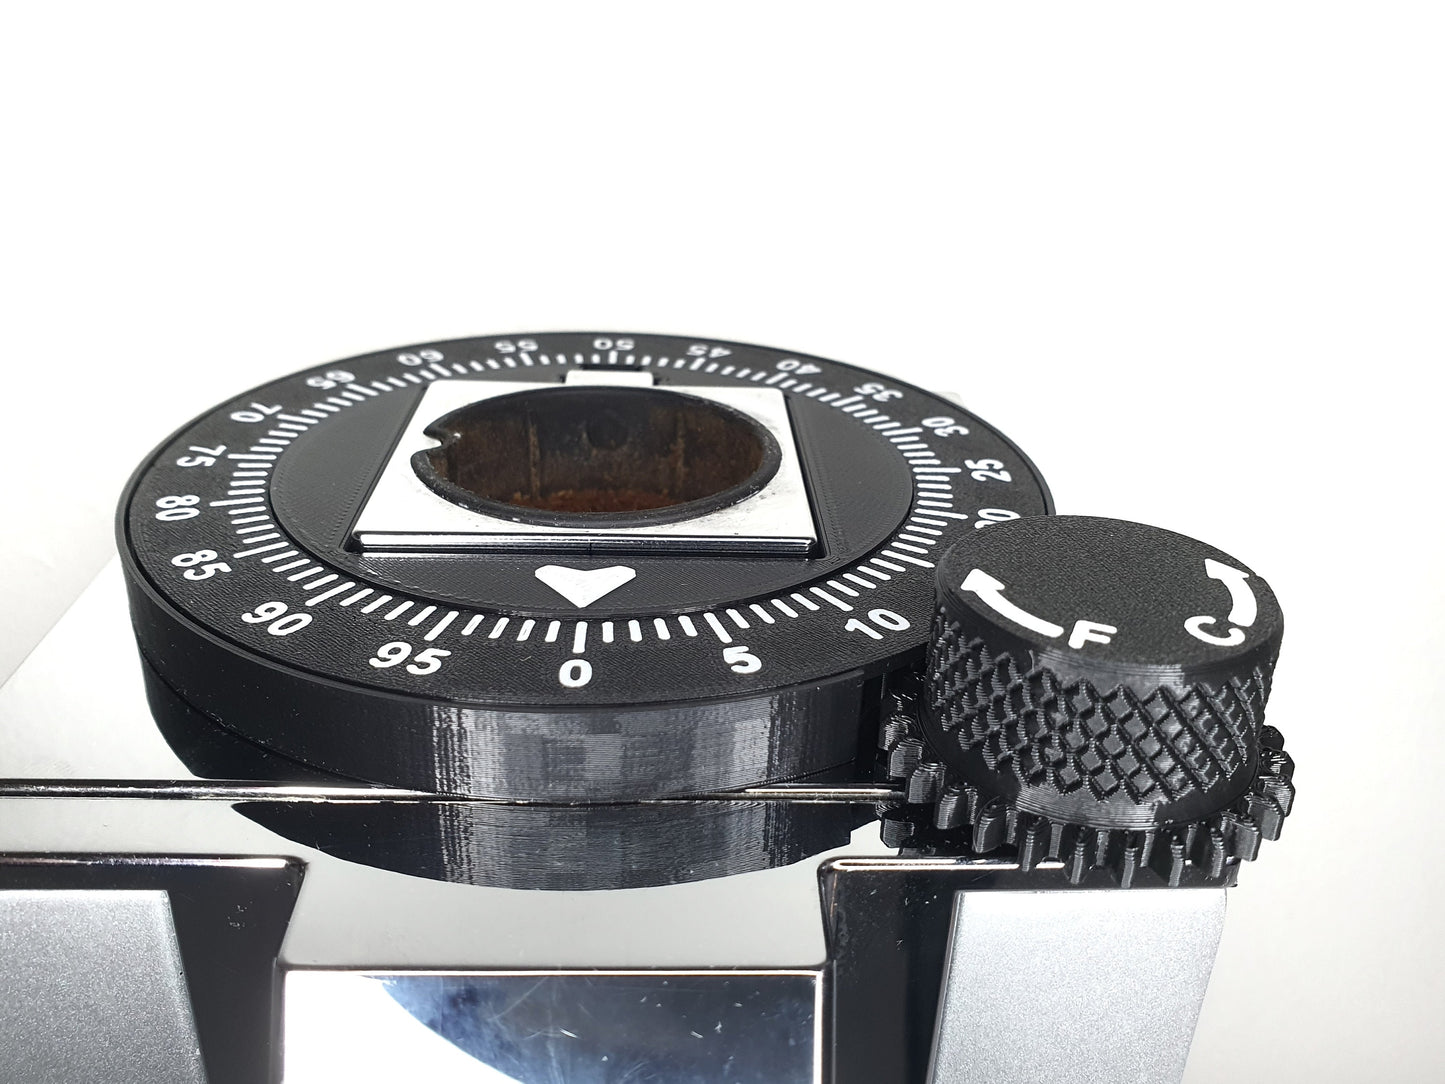
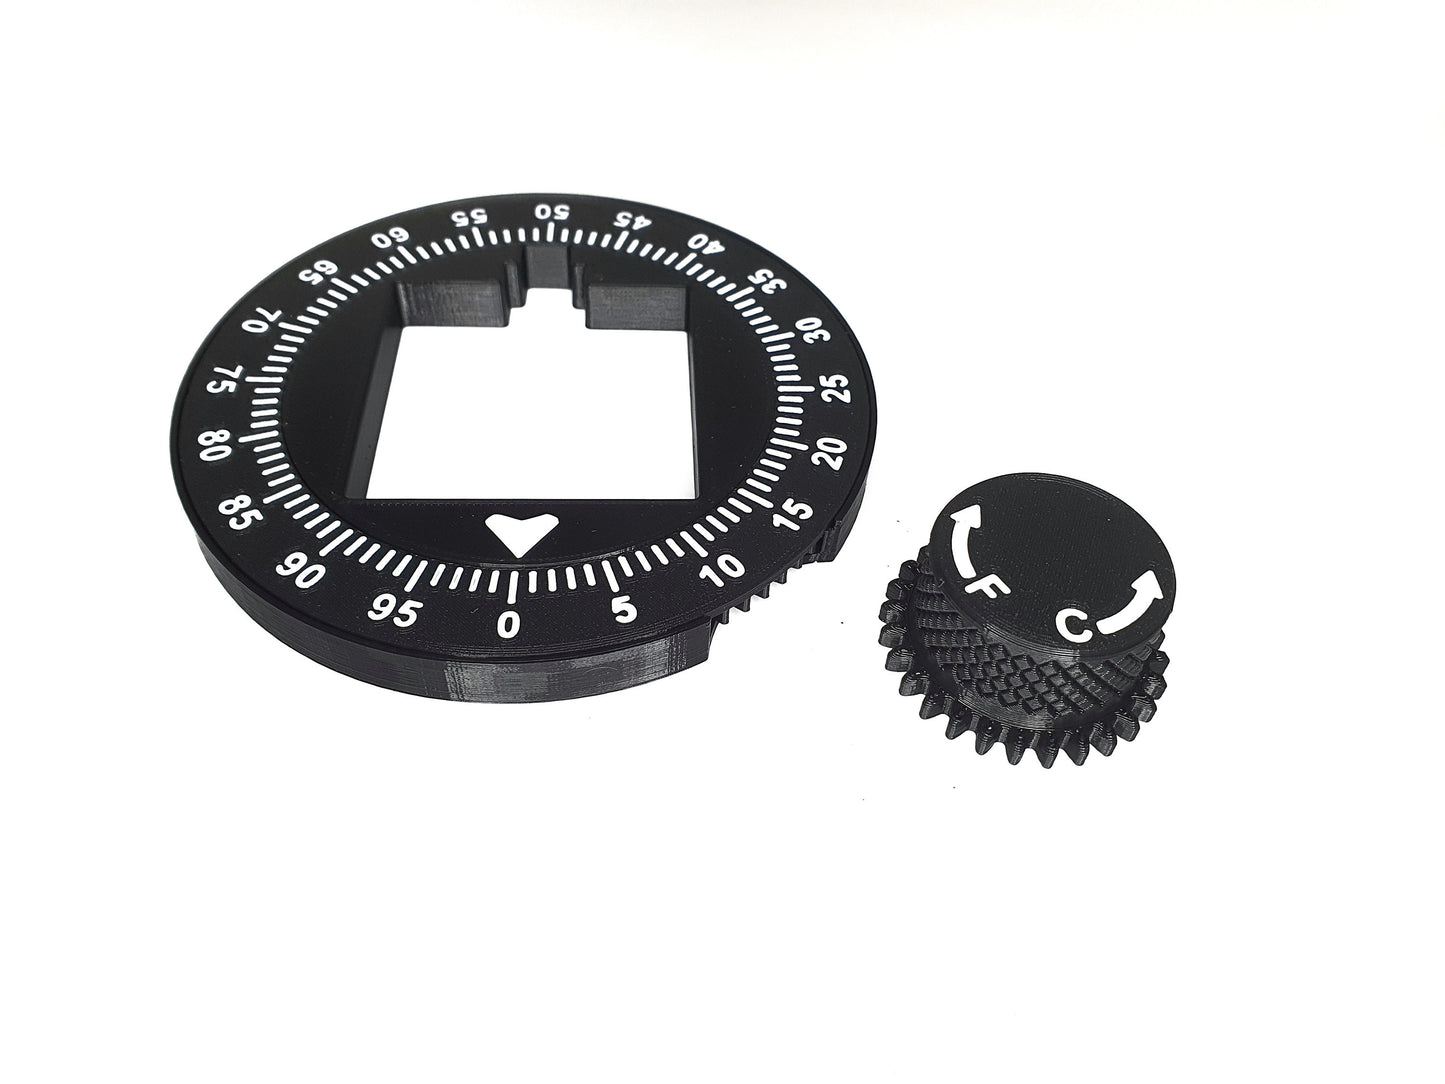
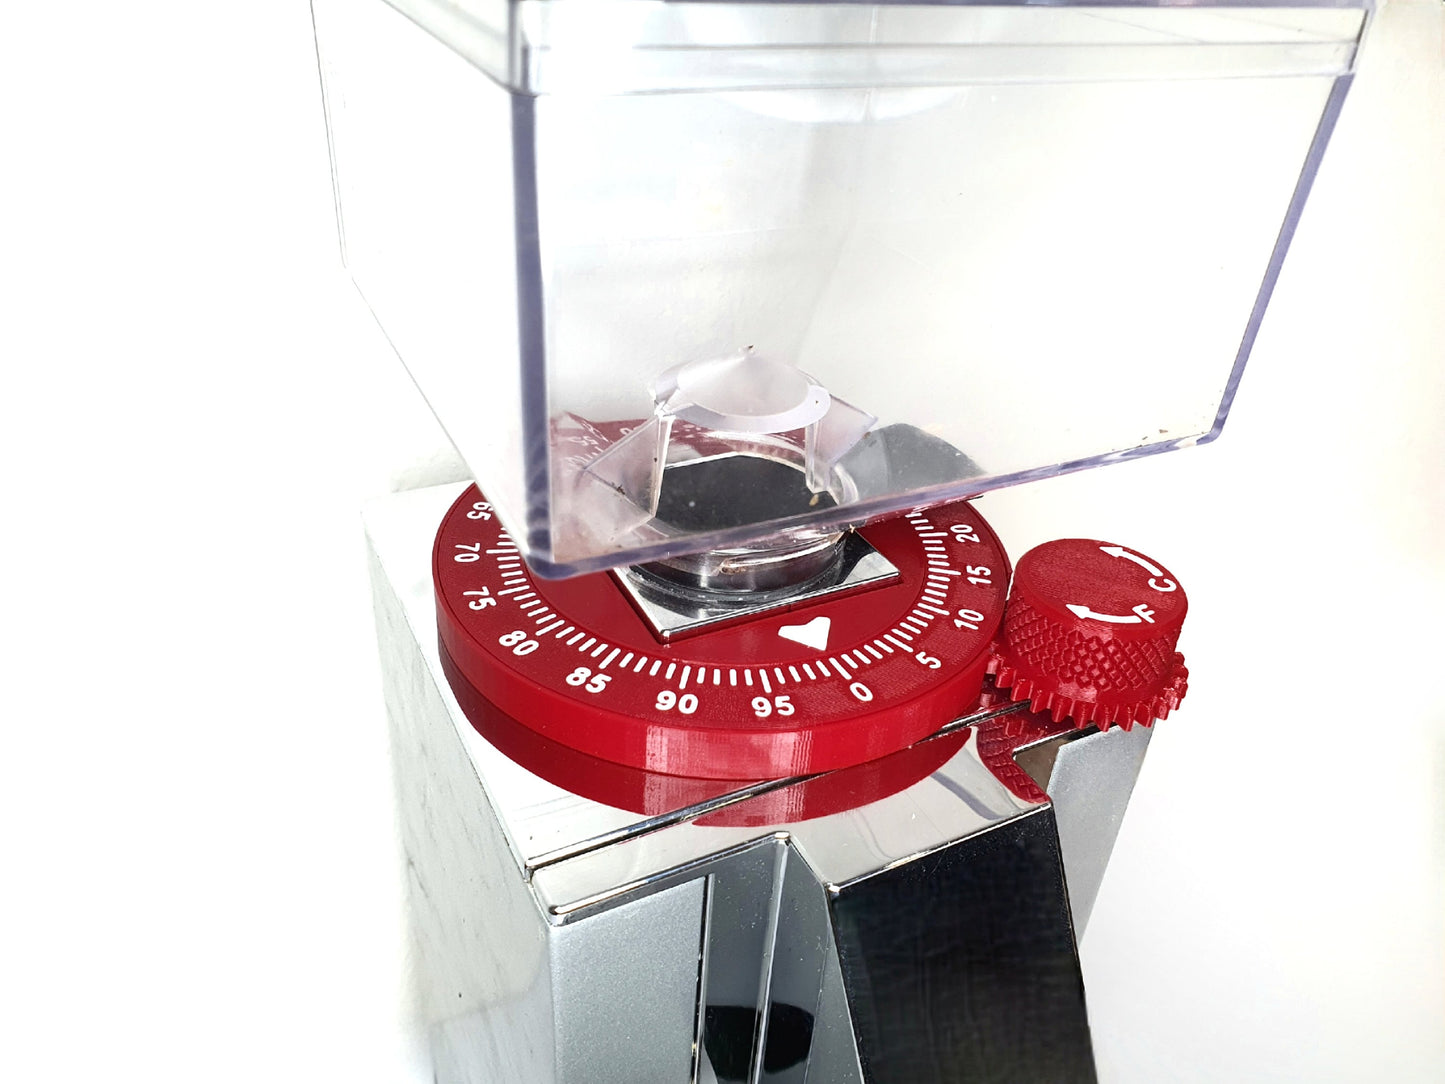
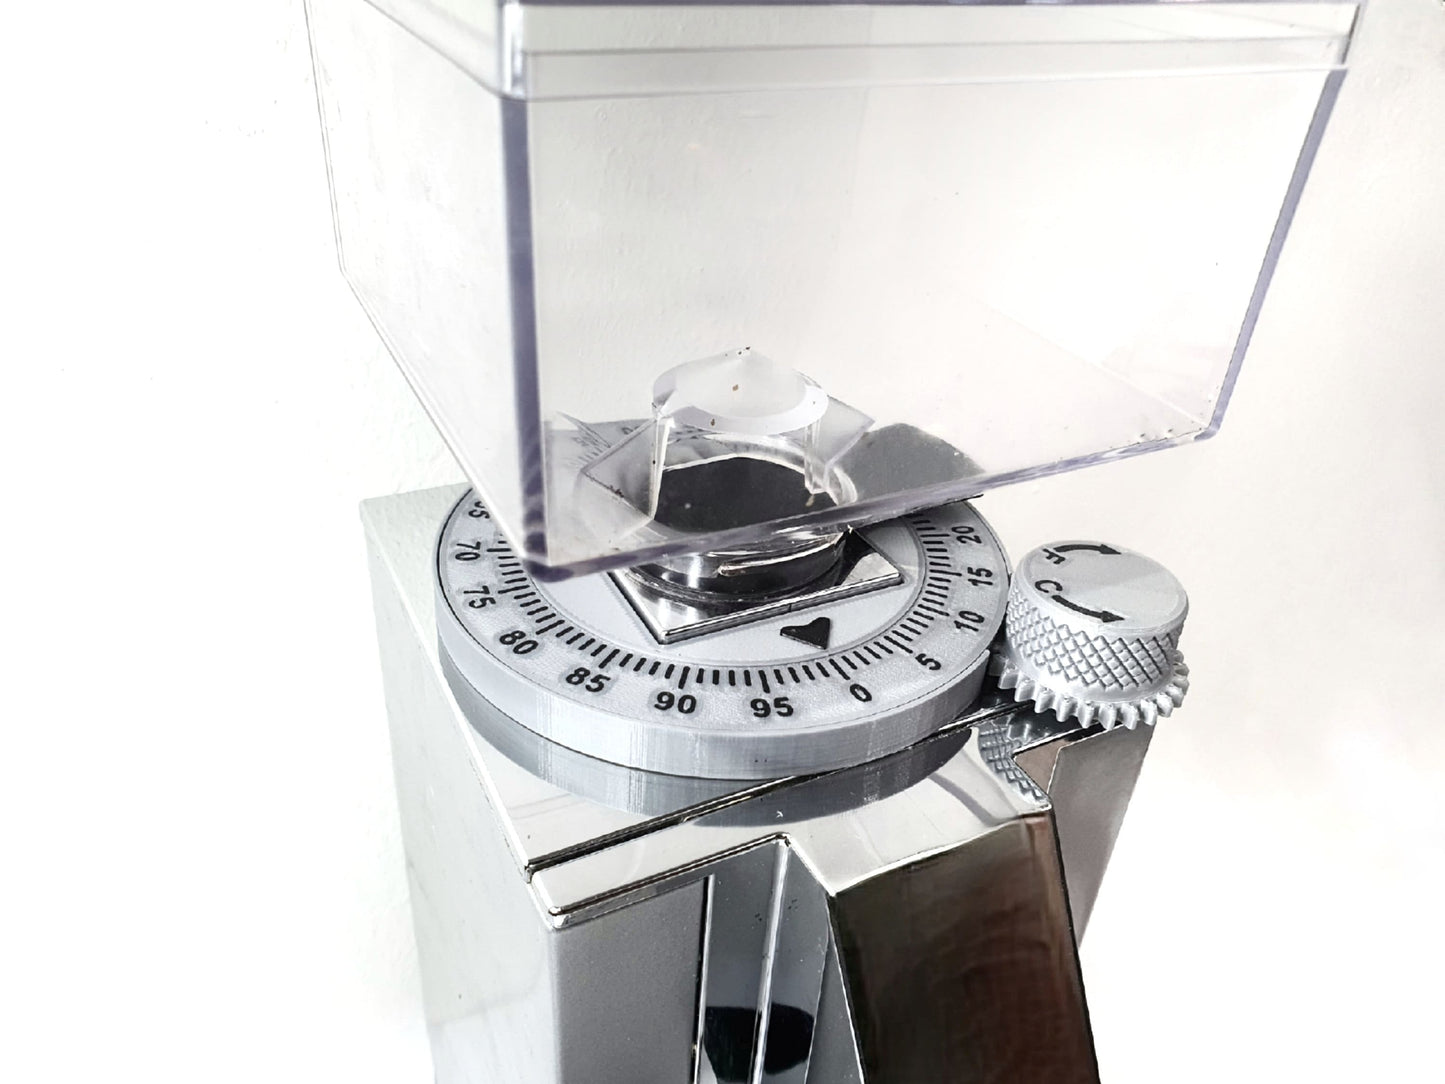
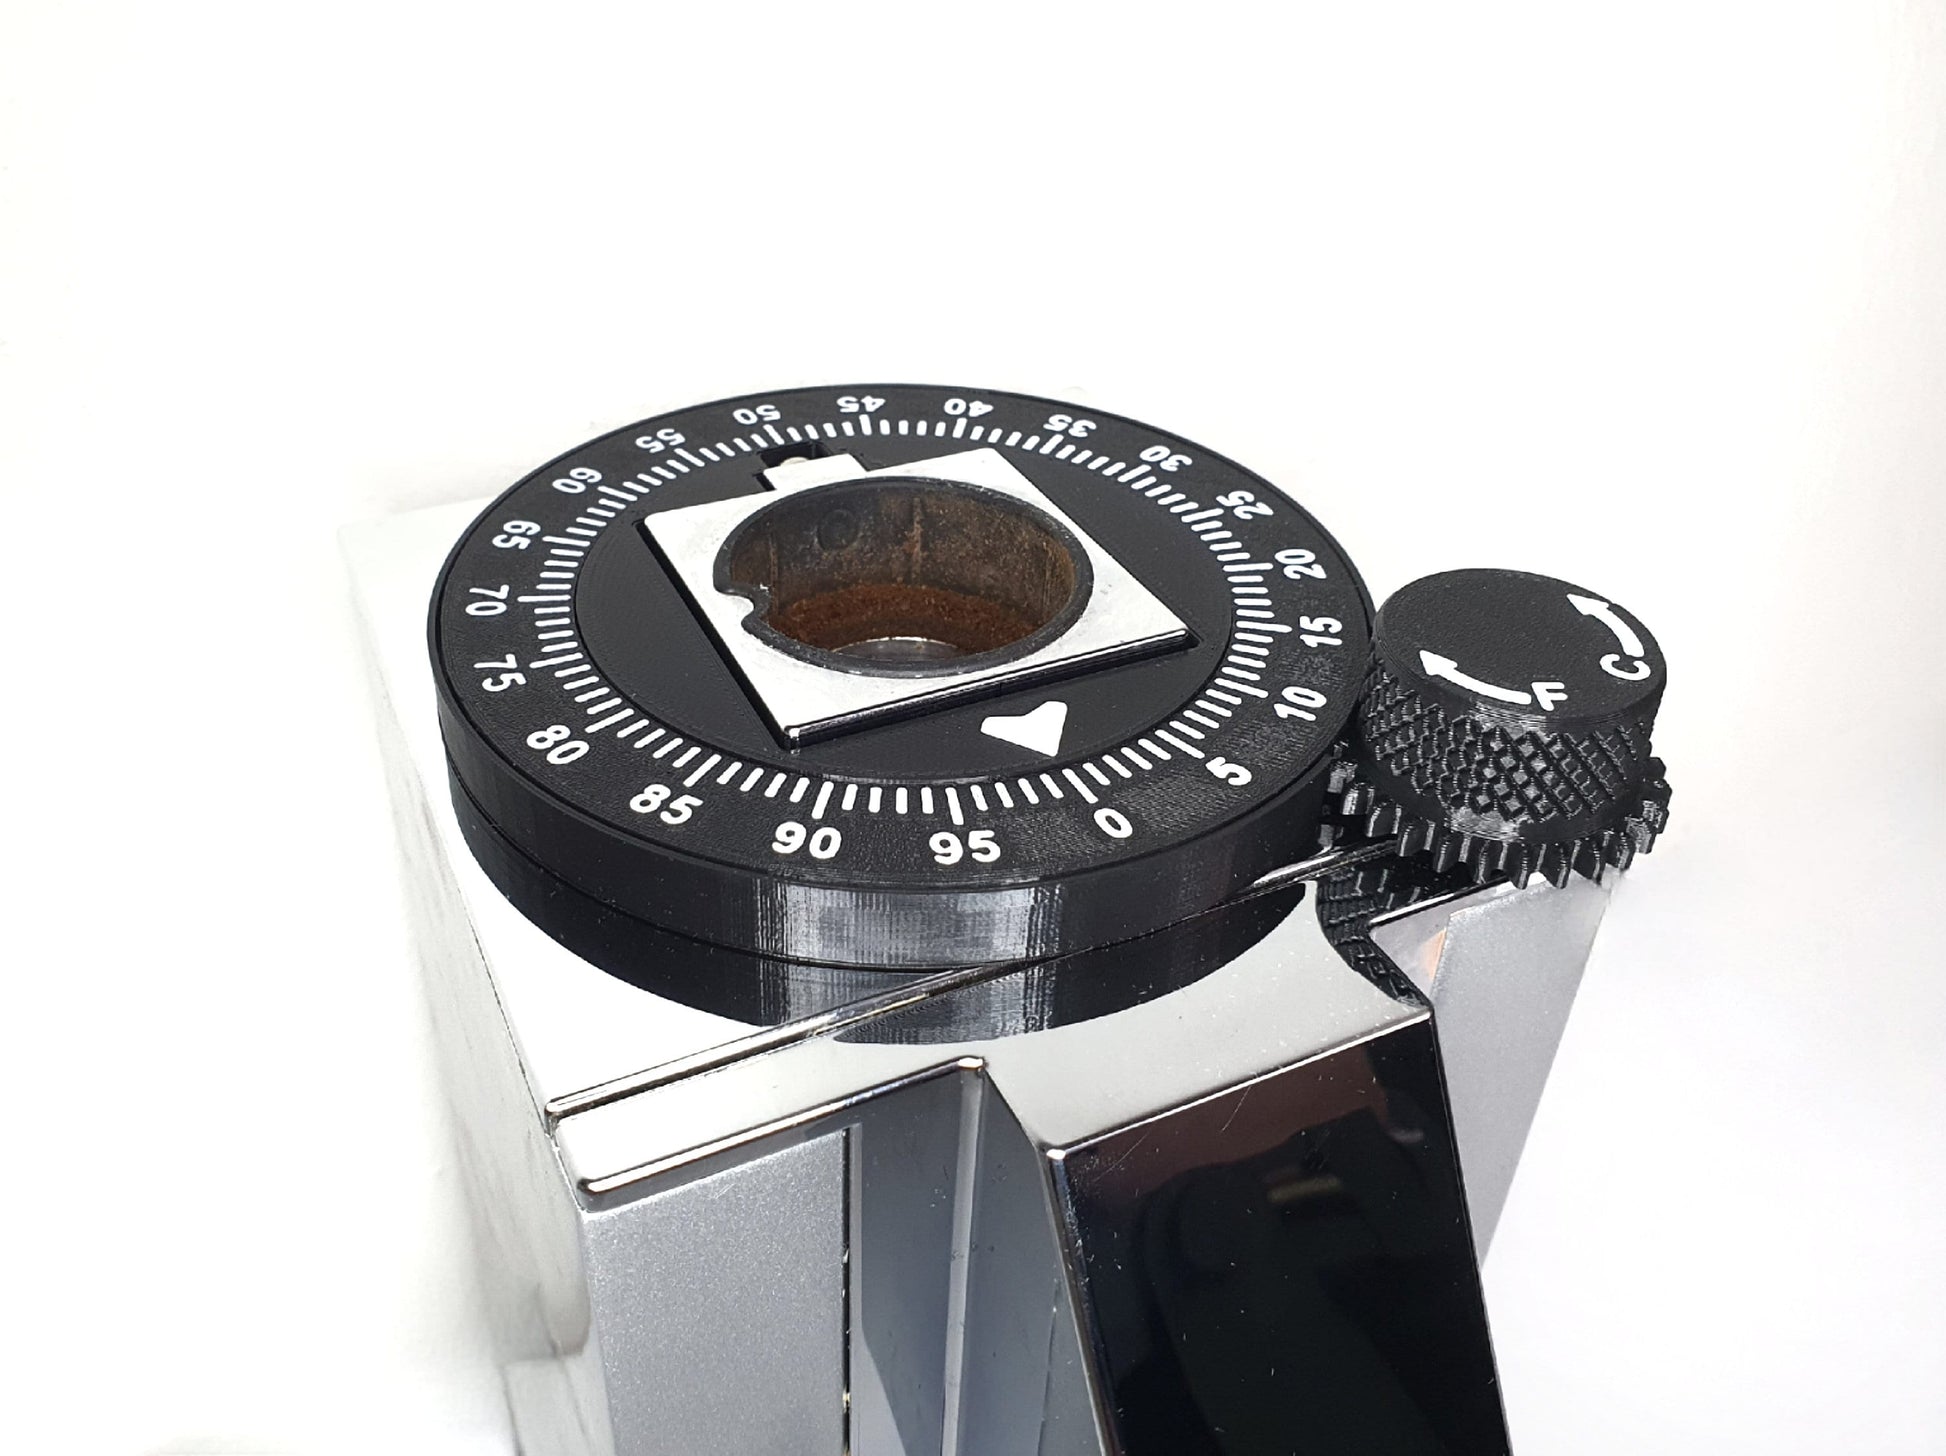
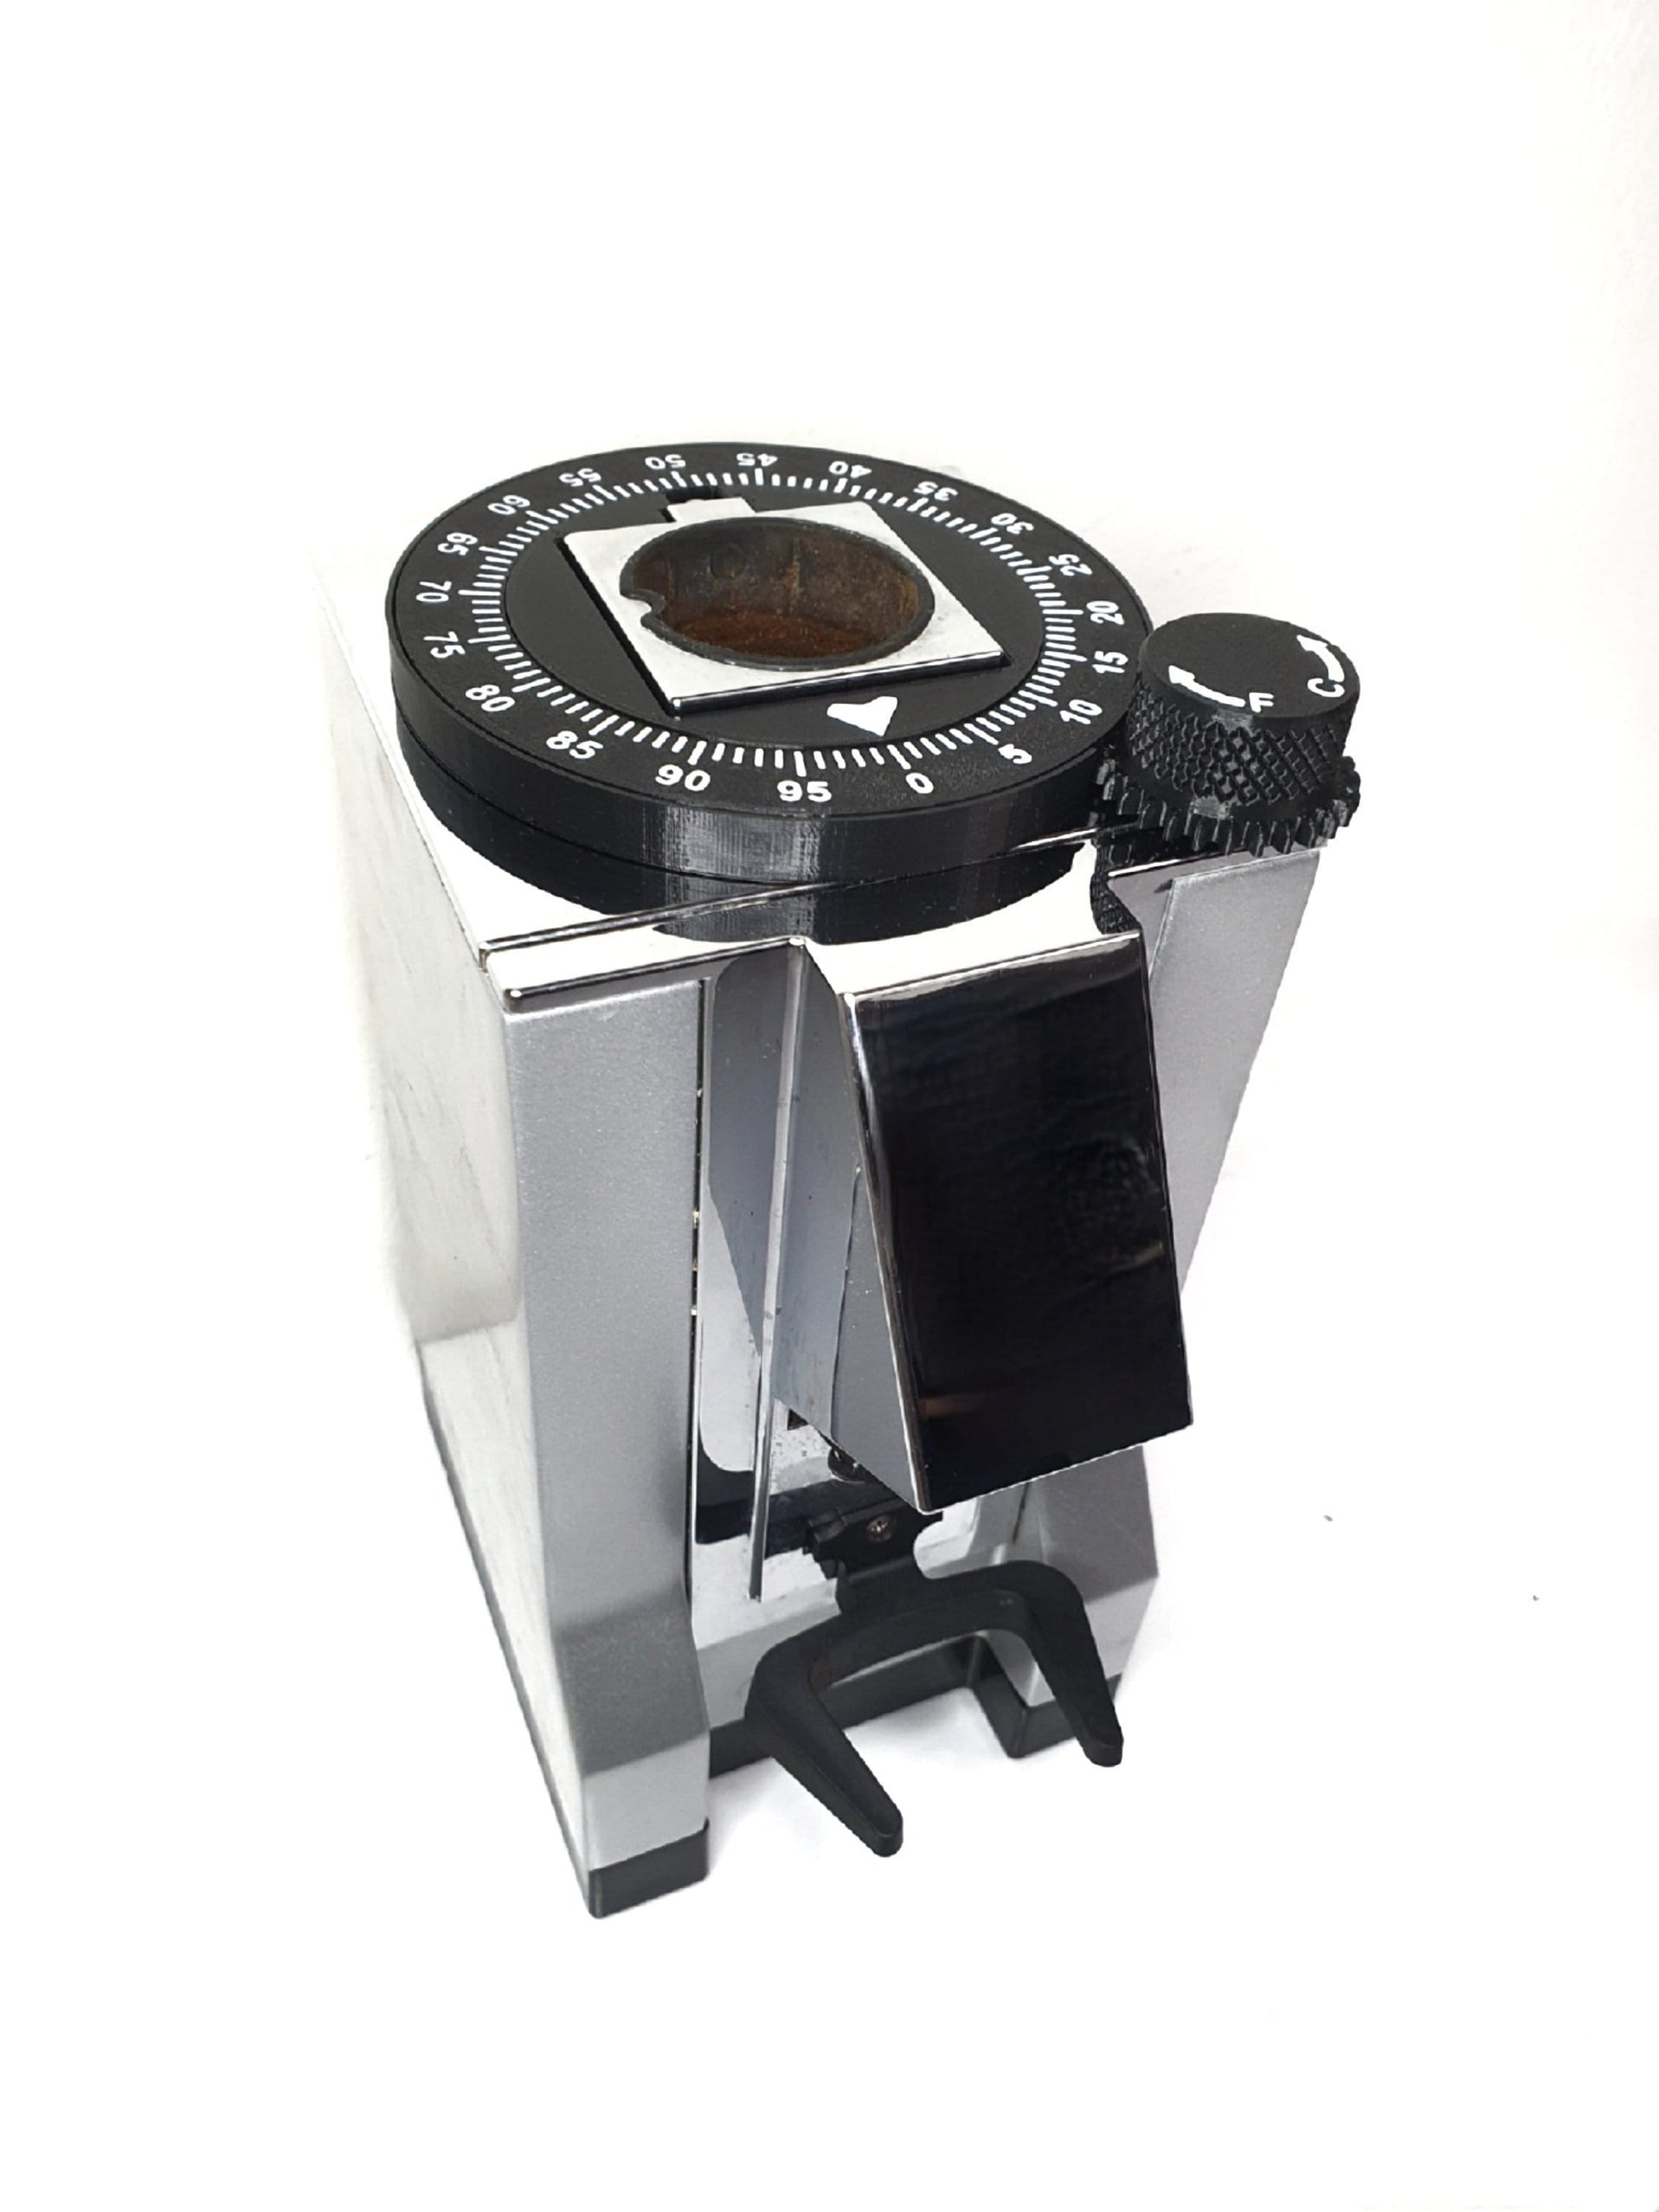
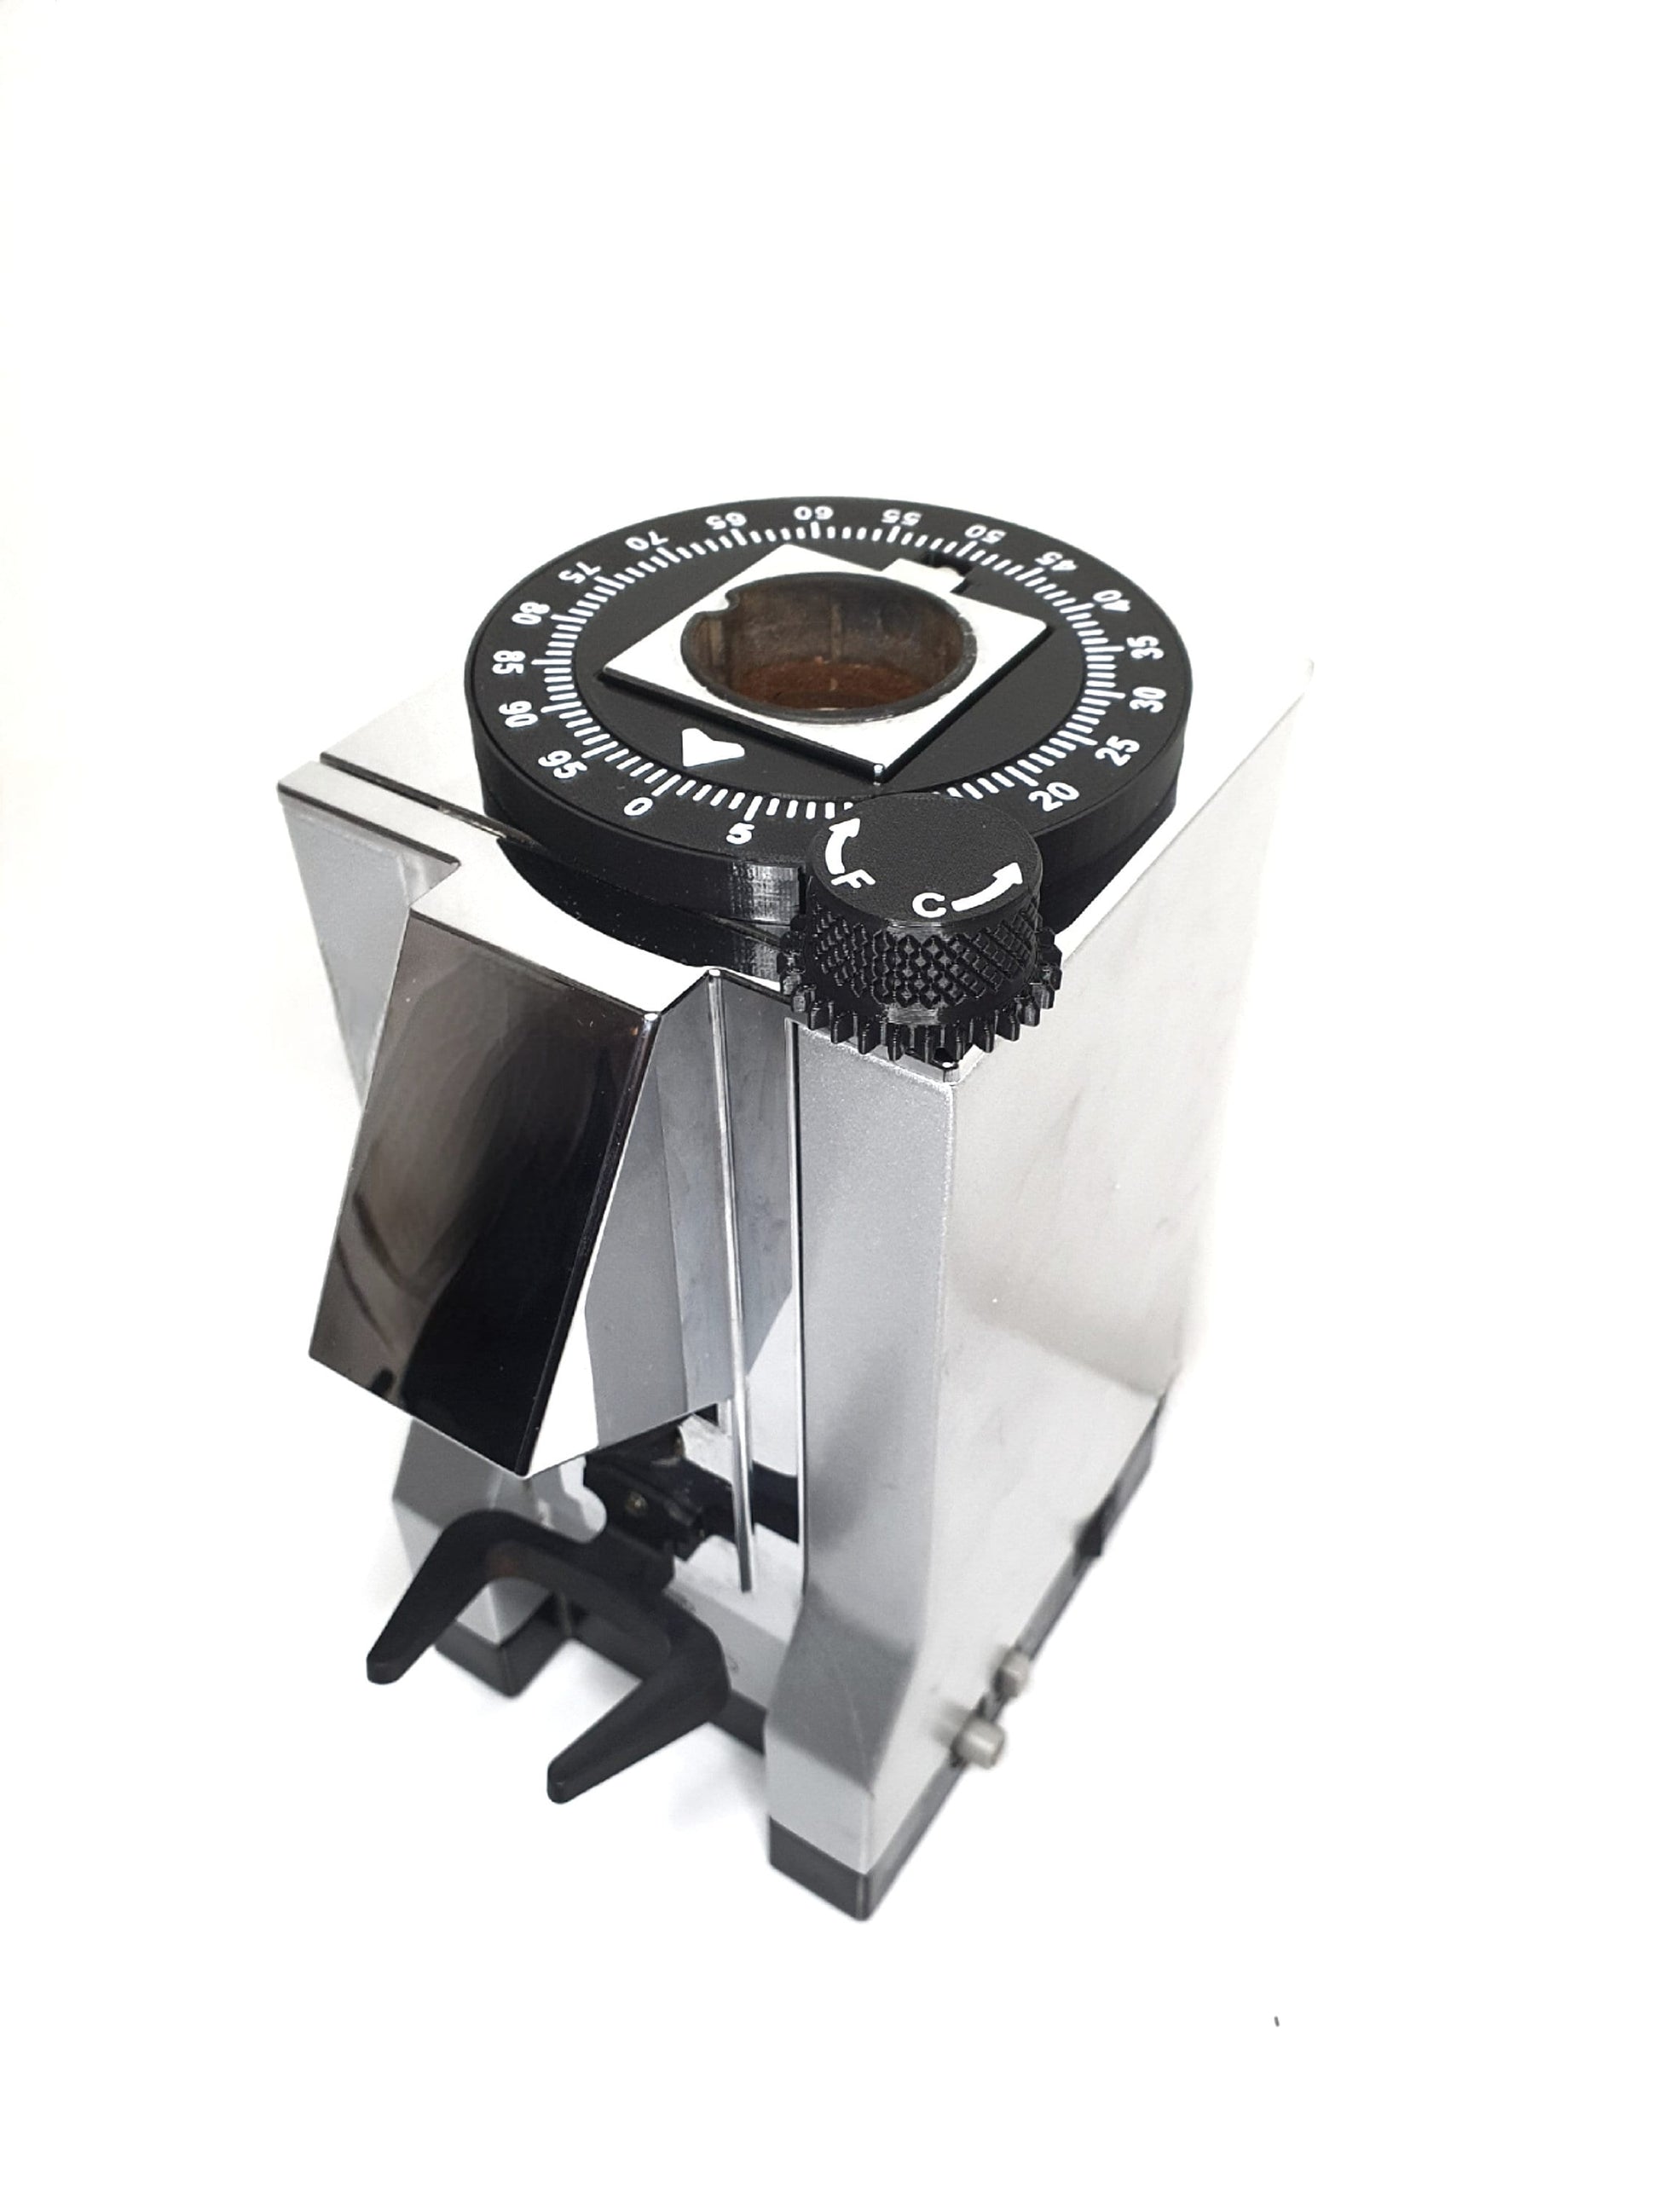
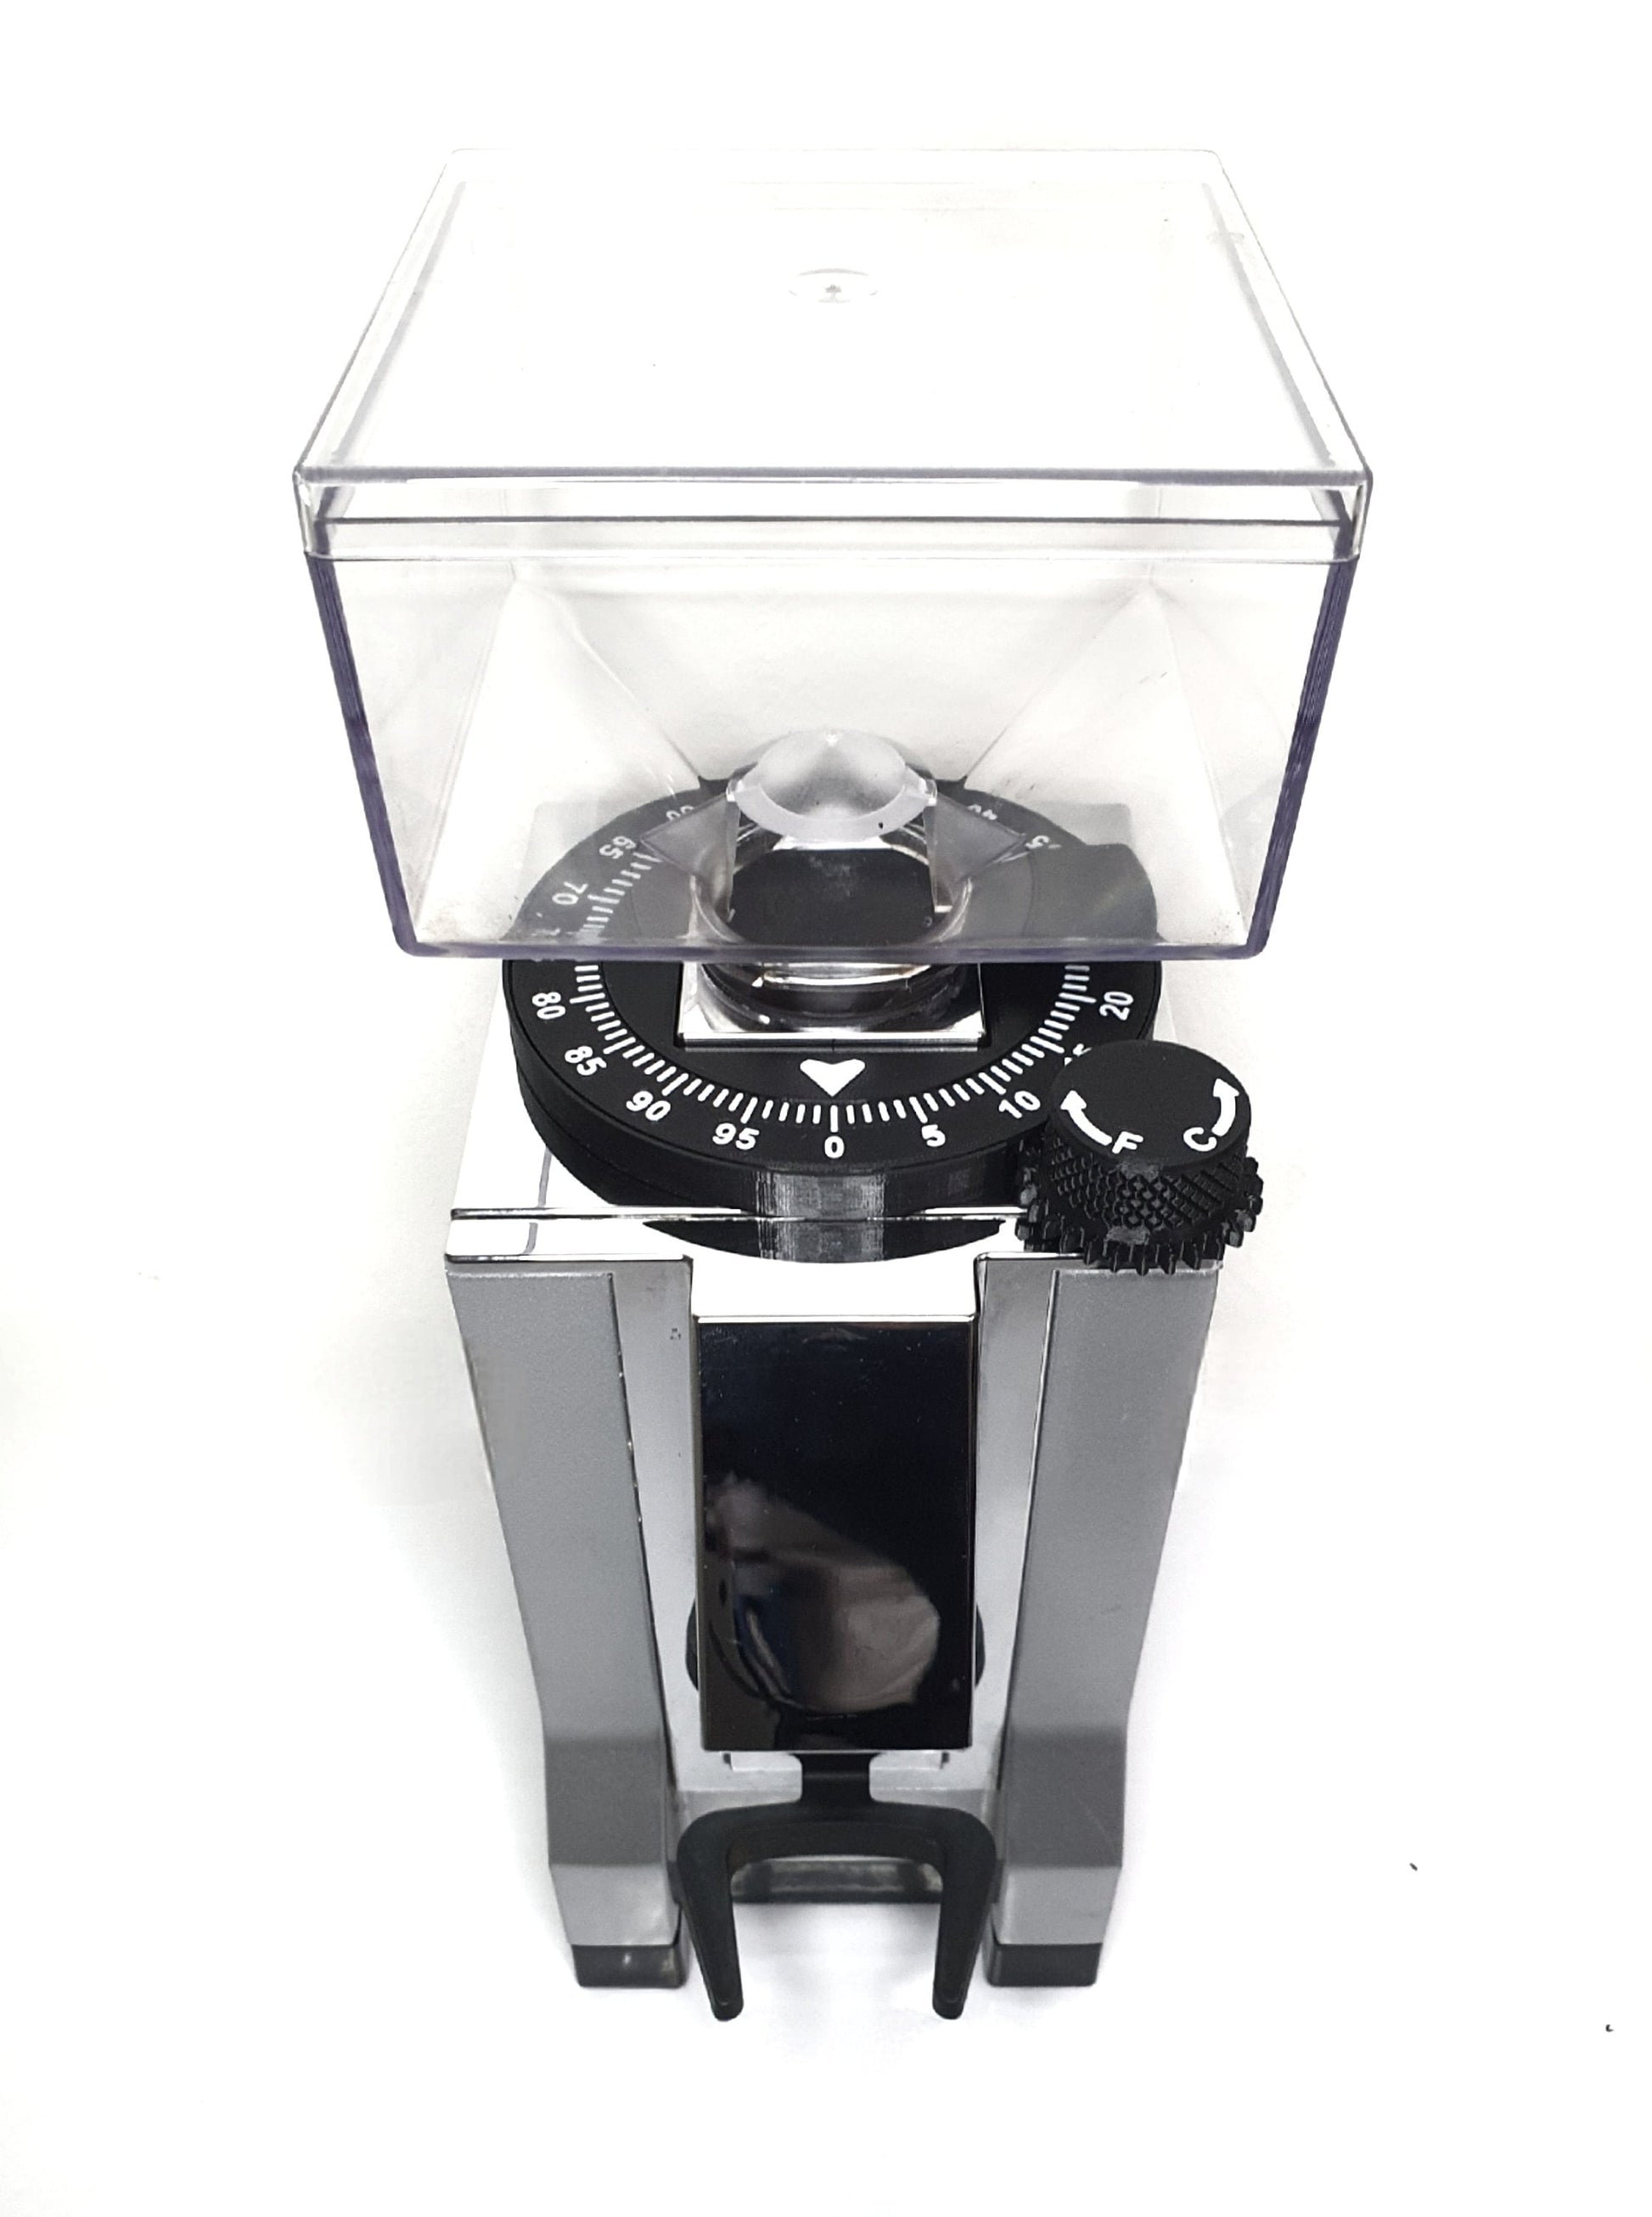
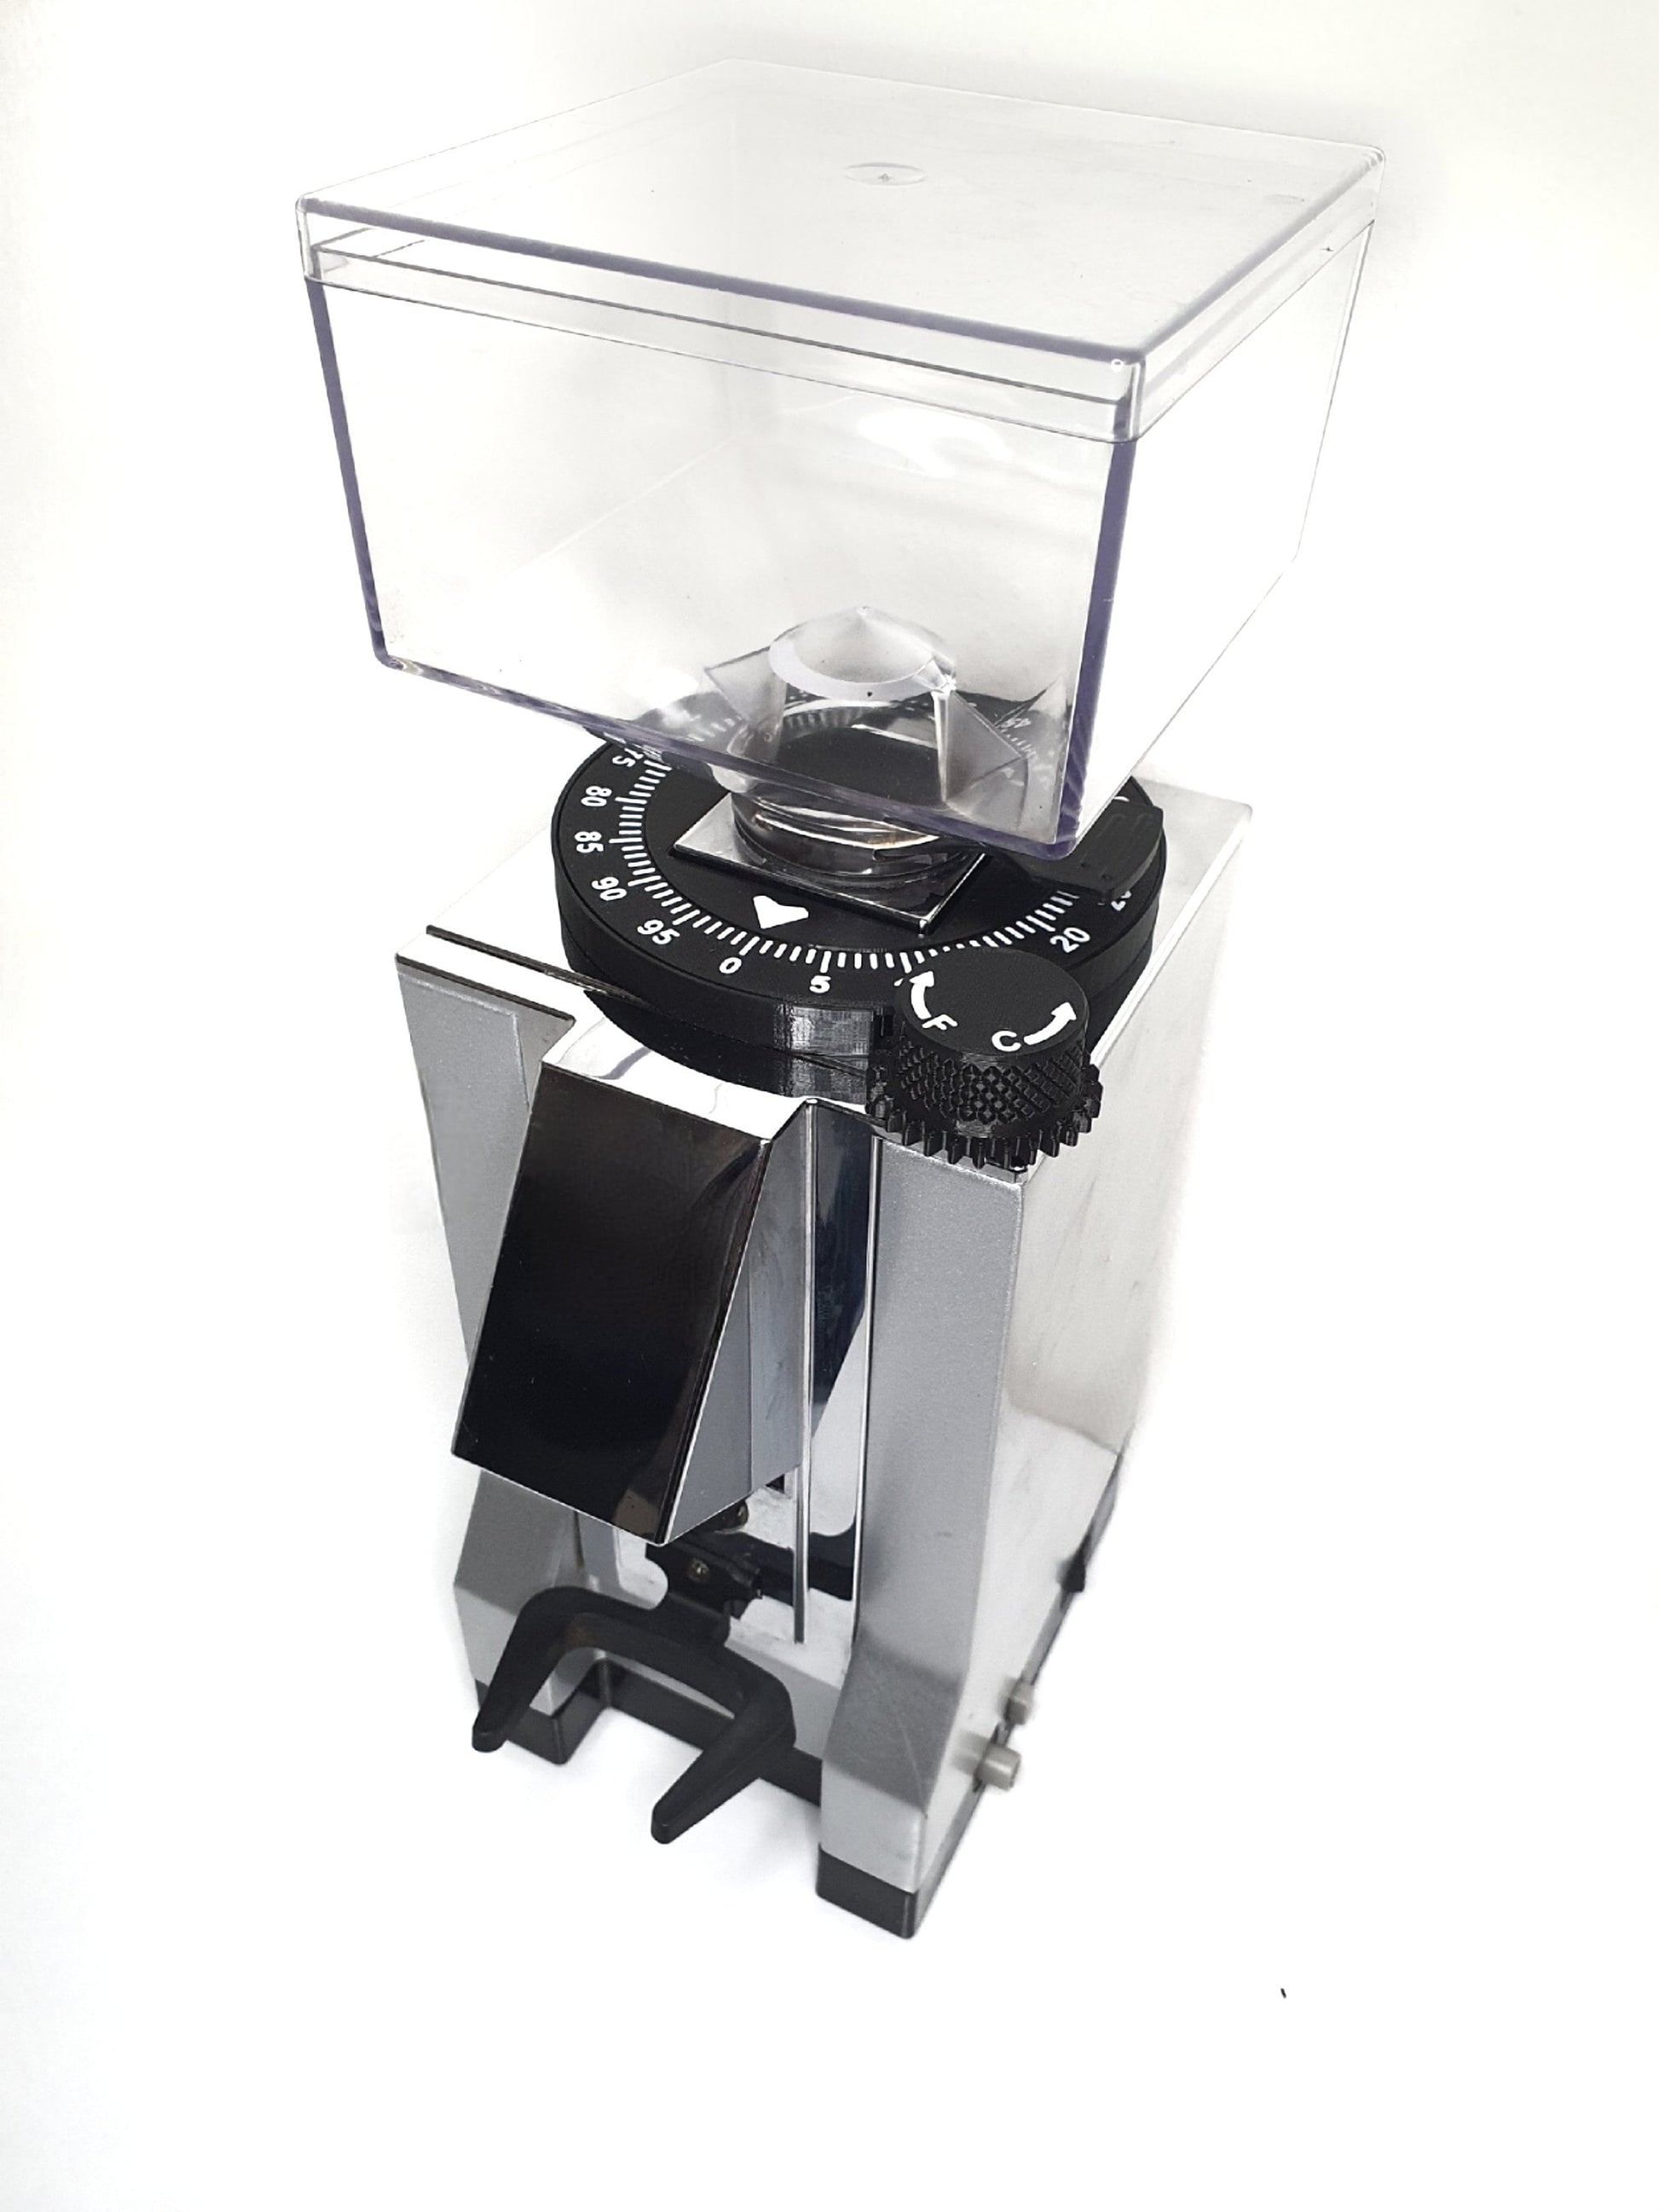
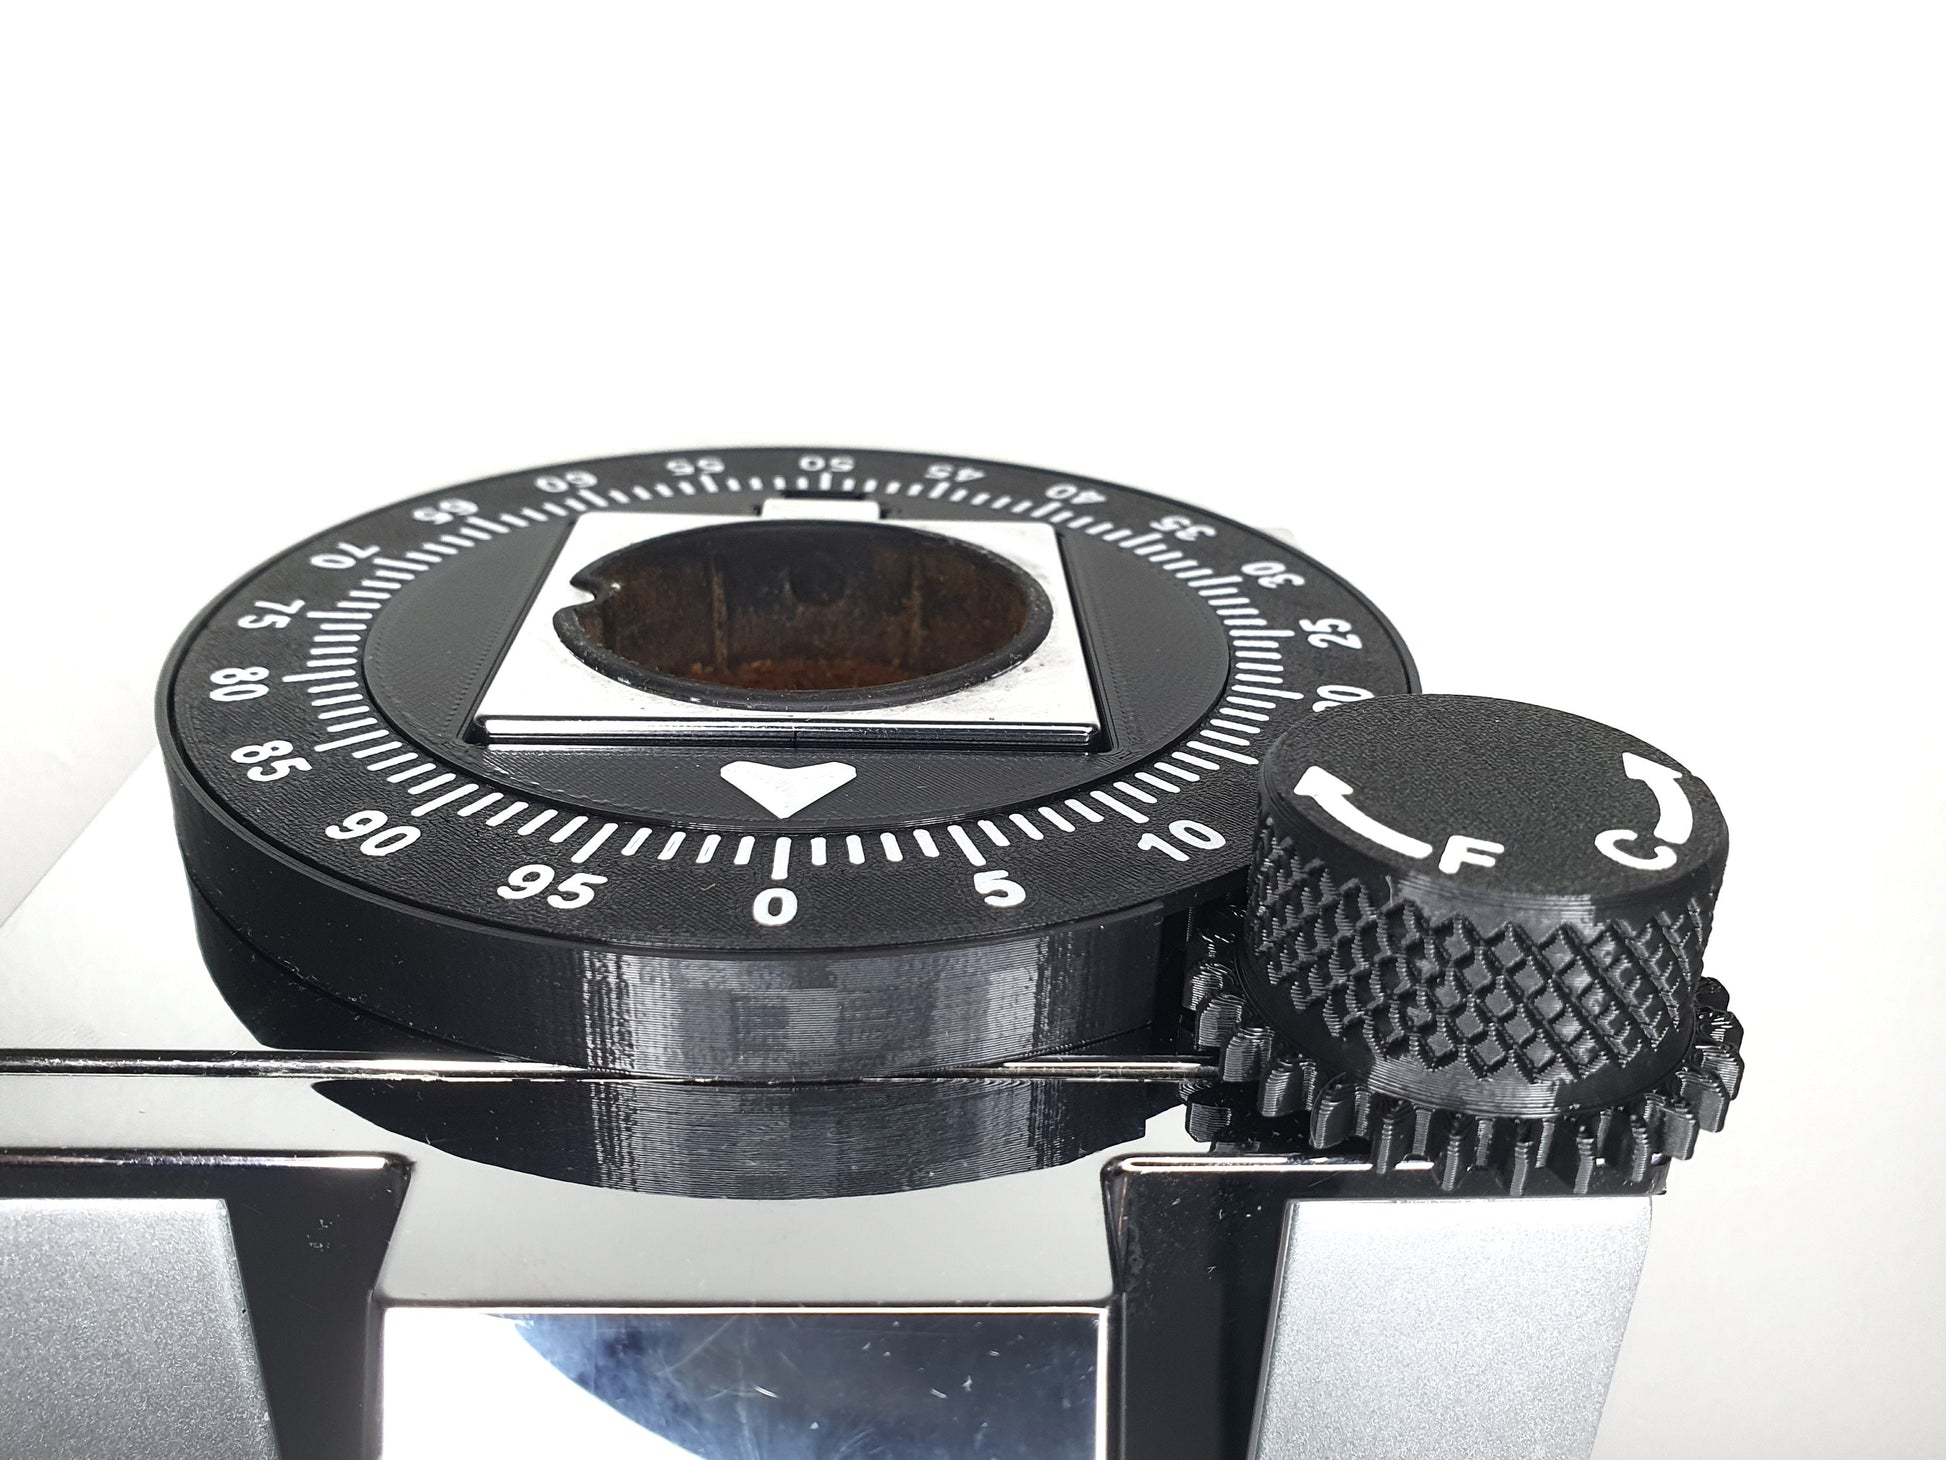
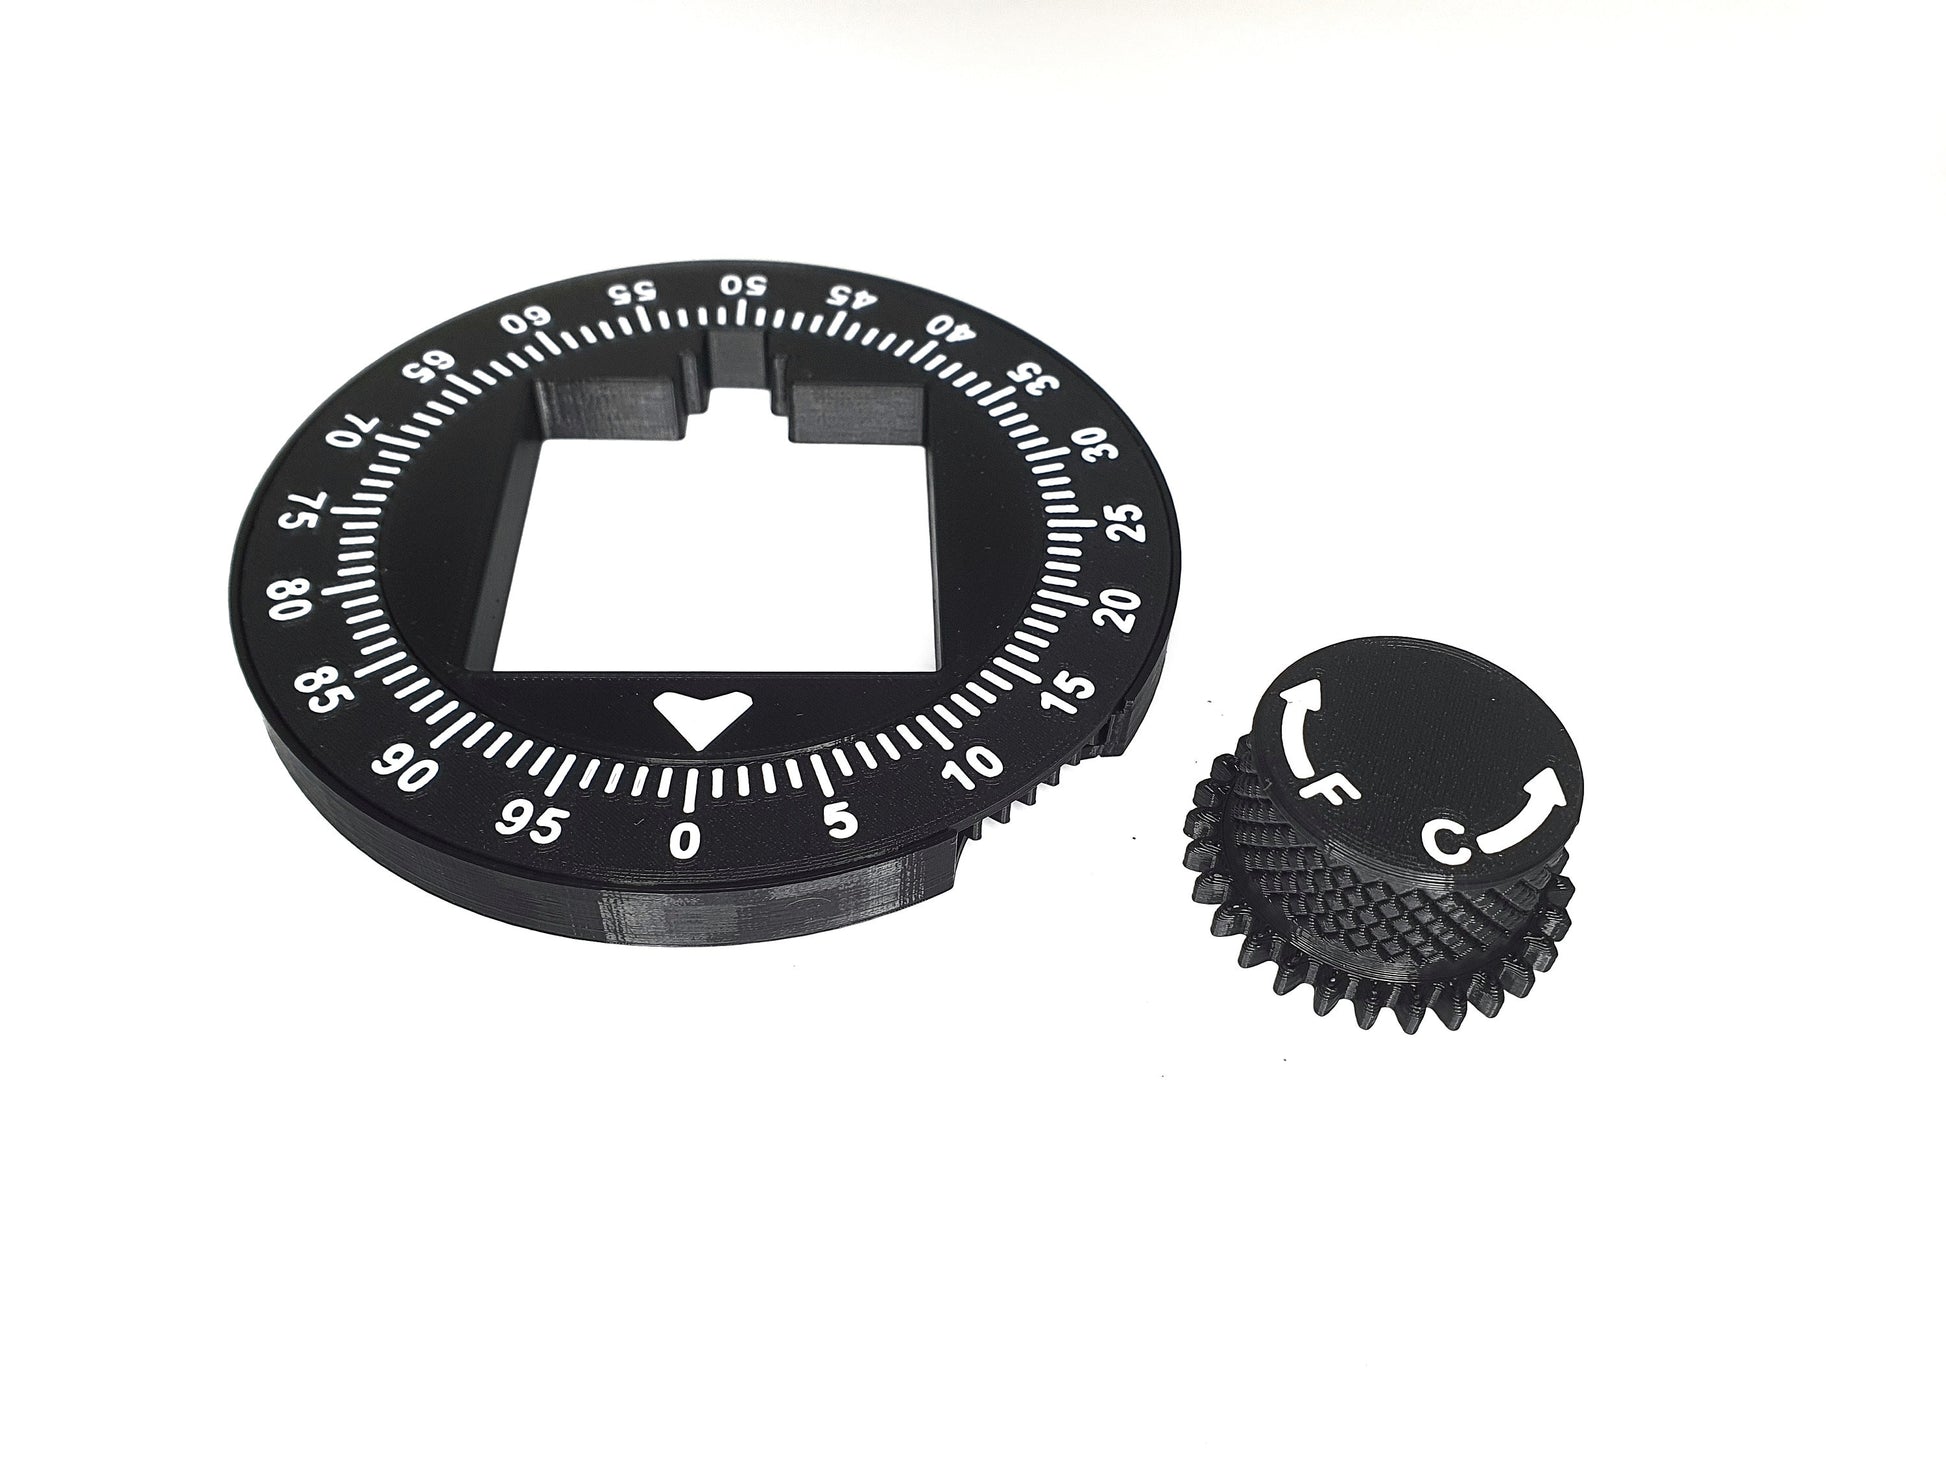
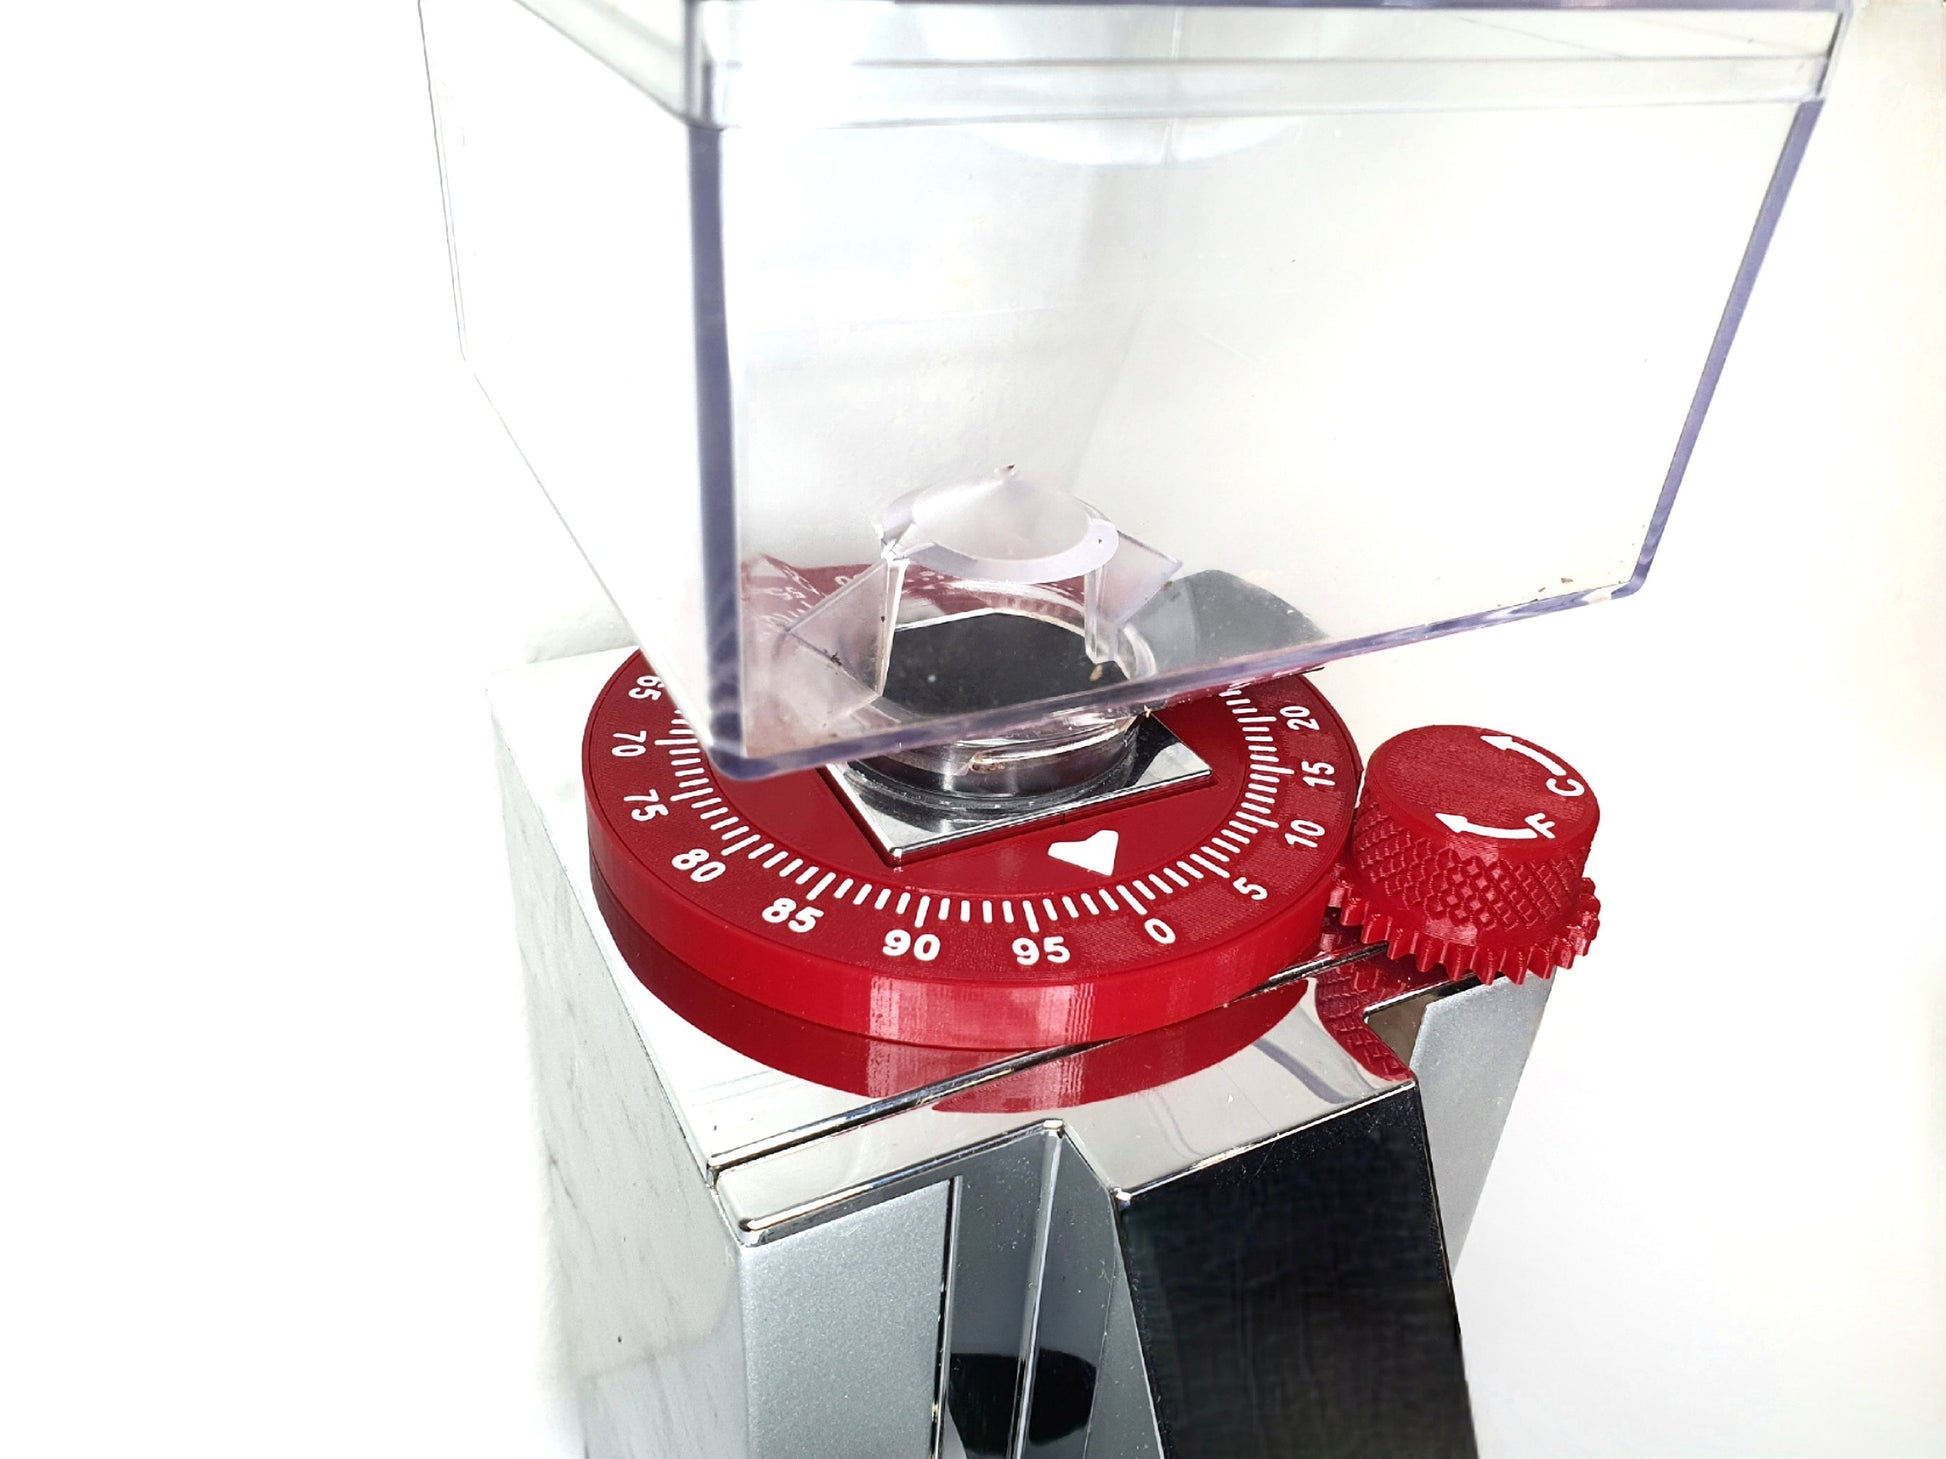
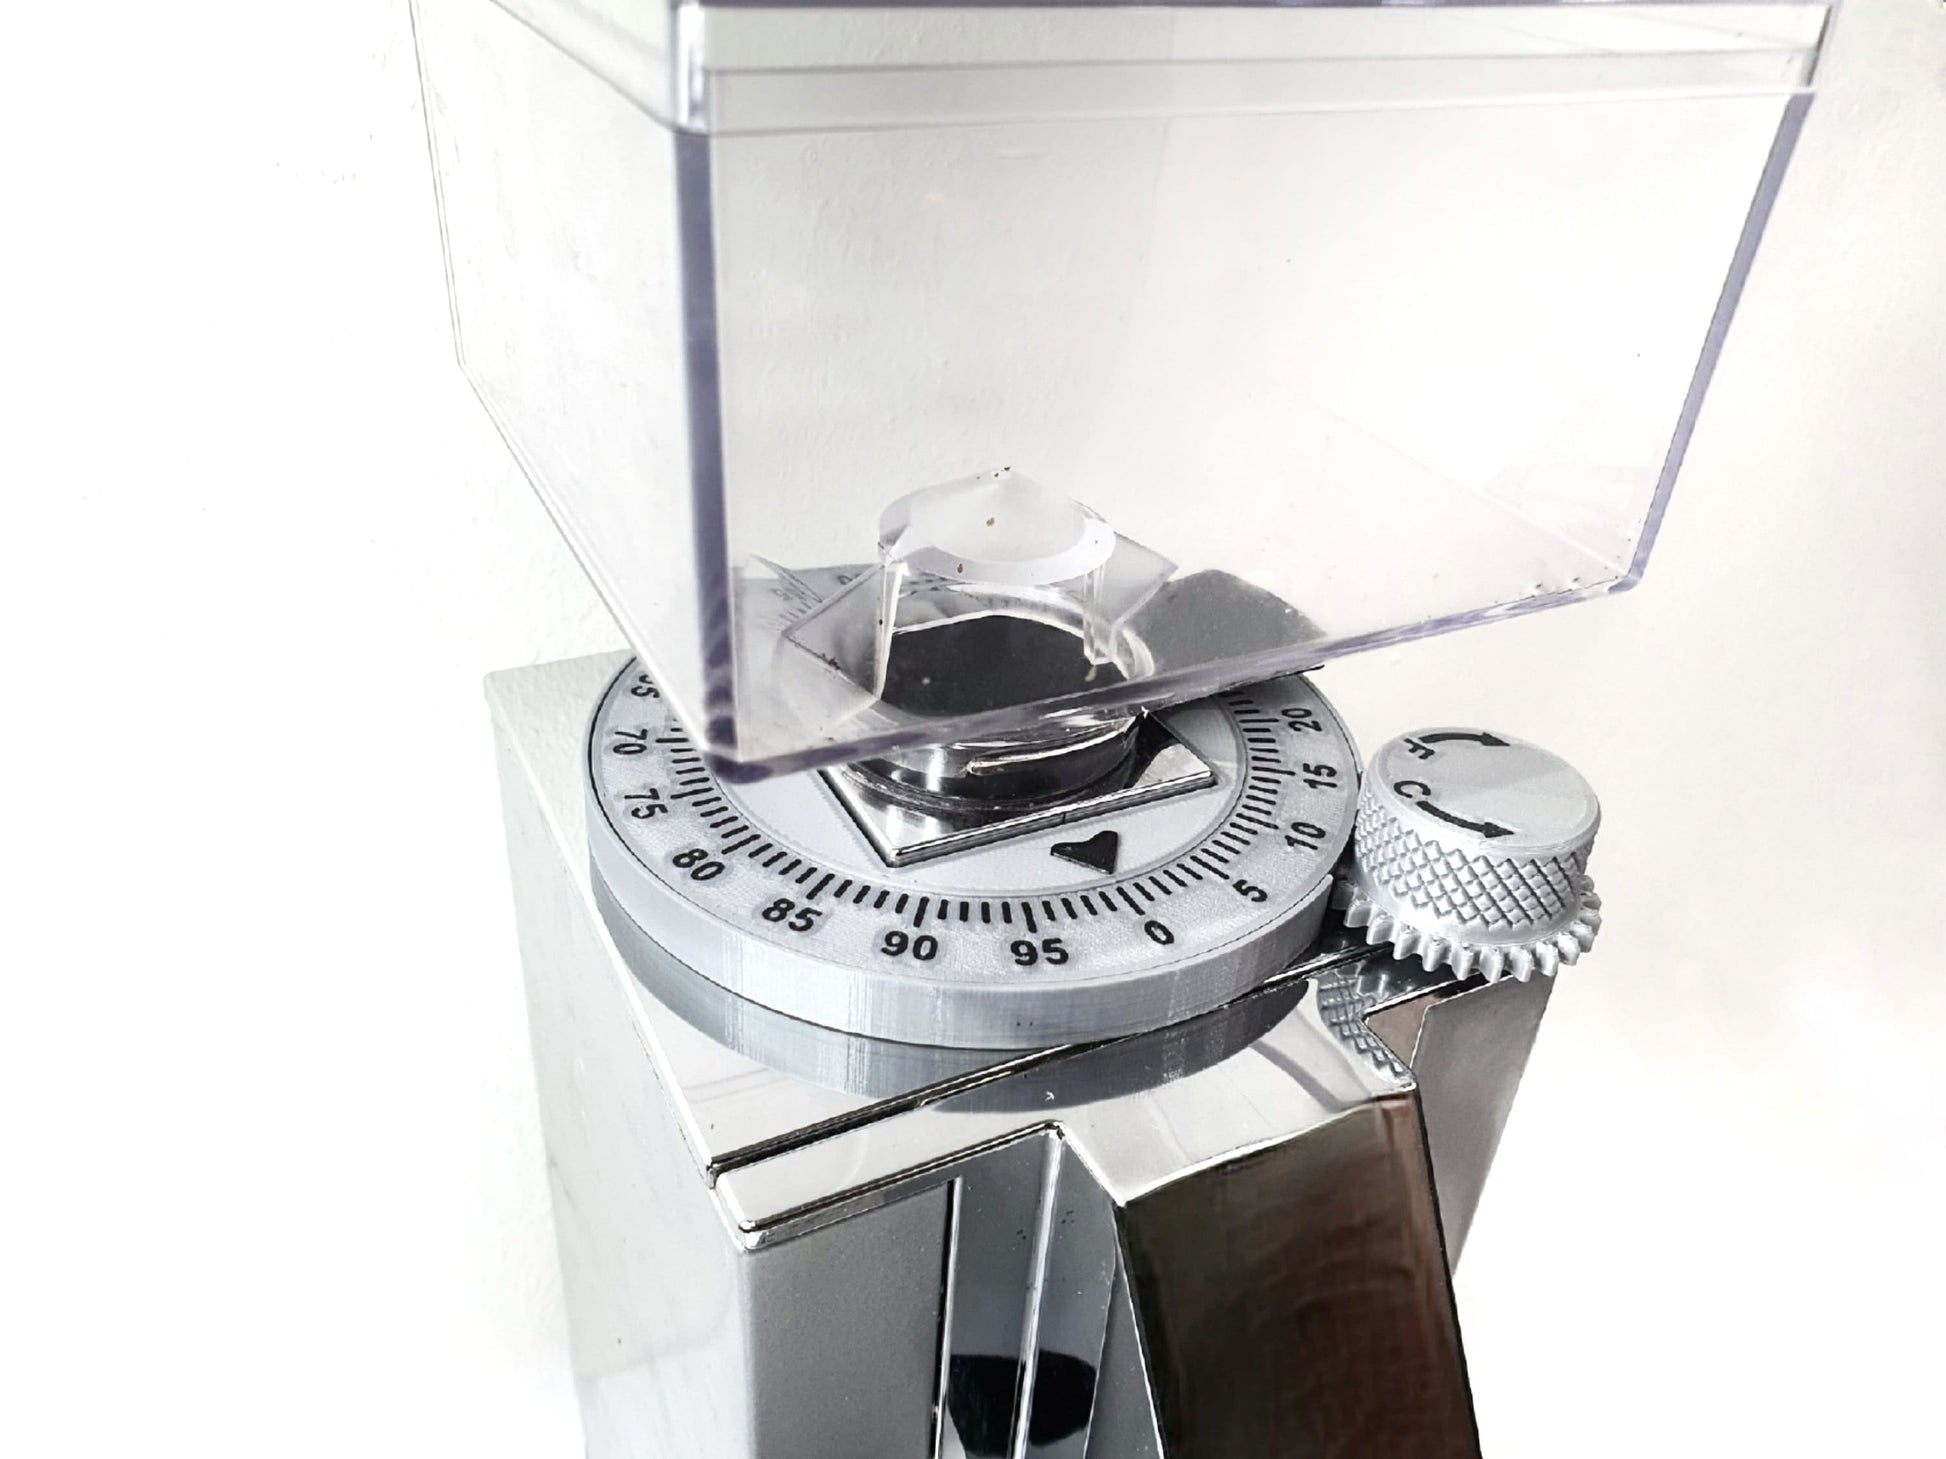
Grinder Setting Dial for Eureka Mignon coffee grinders.
Fits most Eureka Mignon grinders that have the knob on the RIGHT HAND SIDE. Check the list of compatible models down here:
*Grinder is NOT included and used for demonstration purposes only.
Compatible with:
Specialita, Manuale, Oro Dolce Vita, Zero Brew, Oro Single Dose Brew, Silenzio, Turbo, Oro XL, Crono, Casa, Design, Filtro Silent, Libra, Facile, Brew Pro, Oro Single Dose, Zero, Notte, Filtro, Oro Stark, Bravo, Classico, Magnifico
Makes it so much easier switching between grind sizes. You can easily switch between espresso, filtered coffee, pour-over, Turkish, Aeropress etc.
Allows for a fine adjustment between grind sizes so you can quickly move from one size to another by seeing a visual indicator of the size. You have 100 positions so you can have a very accurate adjustment and move back and forth for various sizes accurately.
** Installation instructions VIDEO: **
https://youtu.be/S3vuJwoZA8E
Installation instructions:
1. Take out the hopper and unscrew the existing adjustment knob from the grinder, take out the rubber piece the original knob has on the shaft.
2. Place that rubber ring on the new knob that came with this product and screw the new knob in place.
3. Turn on the grinder and turn the knob clockwise slowly while listening carefully for the grinder burrs starting to engage, when they do start to make sound, rotate back counterclockwise about a 1/8 of a turn.
4. Place the large dial indicator in place over the square while making sure that the dial arrow is facing the "0" position, rotate if necessary.
5. Place the hopper back in place, tilt the dial indicator upward slightly and tighten the screw that secures the hopper.
6. Place the dial indicator back and press down slightly.
7. Enjoy your new grinding experience :)
*Hand wash only DO NOT put in dishwasher and DO NOT use hot water.
*Grinder is NOT included and used for demonstration purposes only.
If you have any requests feel free to reach out to me.
If anyone has any doubts that this design was designed by me, please contact me for verification.
This product is 3D printed, as a result you will be able to feel the layer lines made by the 3D printing process, other than that it won't make a difference and will work great!
0.060
